Configuration
The productionAssist Nesting app is part of the nesting assistant "Nesting Production Set".
Before first use, the components of the set must be launched. As soon as the commissioning is completed, the configuration of the app can be started by clicking on "Configure".
After the first configuration, the "Configure" button turns into a gear wheel. Here you can make additional settings later.

Starting the configuration
The app guides you through the configuration in individual steps.
Step 1: Customize the name of the workstation
In the first step, the name (1) of the workstation can be customized. Assigning a meaningful name makes it easier to select the workstation later in the overview.
Additionally, you have the option to activate the setting "Last workstation, status is set to completed" (2). This will automatically set the status of the components that pass through this workstation to completed once they are finished."
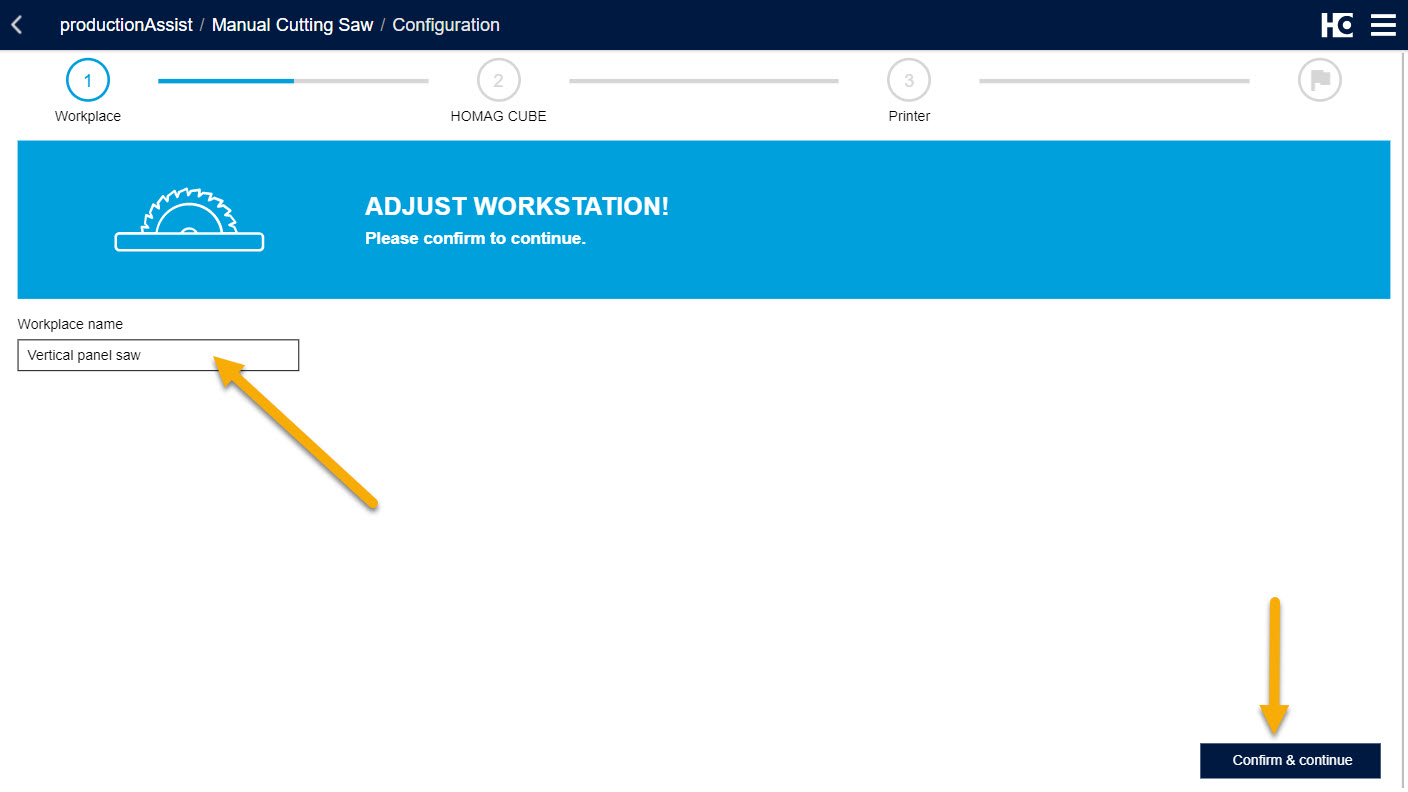
Assigning a name for the workplace
Step 2: Configuration of the scanner
Integrating a scanner is optional, however using the application in combination with a scanner significantly simplifies the process. More detailed instructions for adding a scanner can be found here. If you do not wish to integrate a scanner, you can proceed to the next step by clicking on "Continue without scanner". You can connect additional devices at a later time by reopening the configuration.

Integration of a scanner
Step 3: Configuration of the HOMAG CUBE
Now you connect the HOMAG CUBE to the app.
The HOMAG CUBE can be added by scanning the label on the rearside. The tablet (or the bluetooth scanner connected in the previous step) can be used for this purpose.
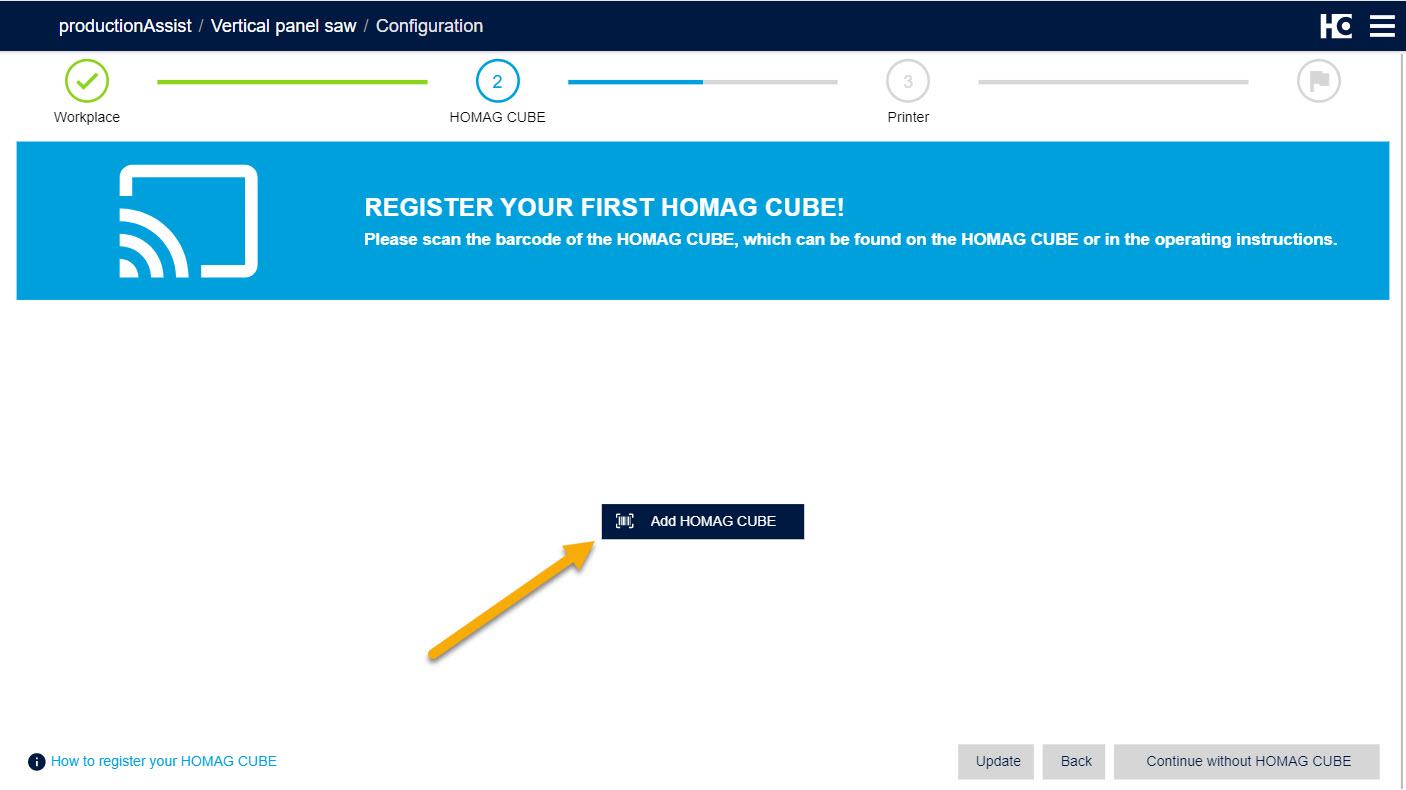
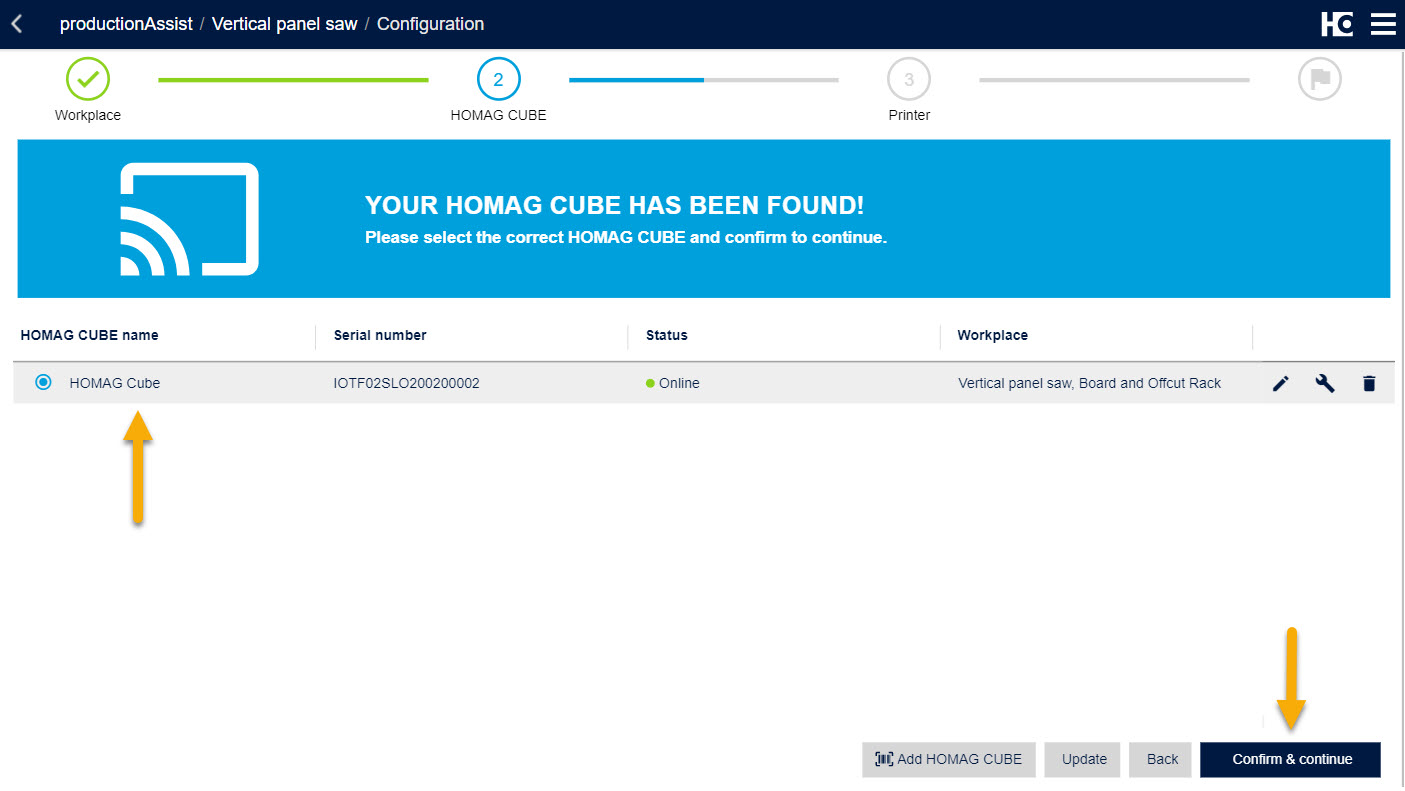
Adding a HOMAG CUBE
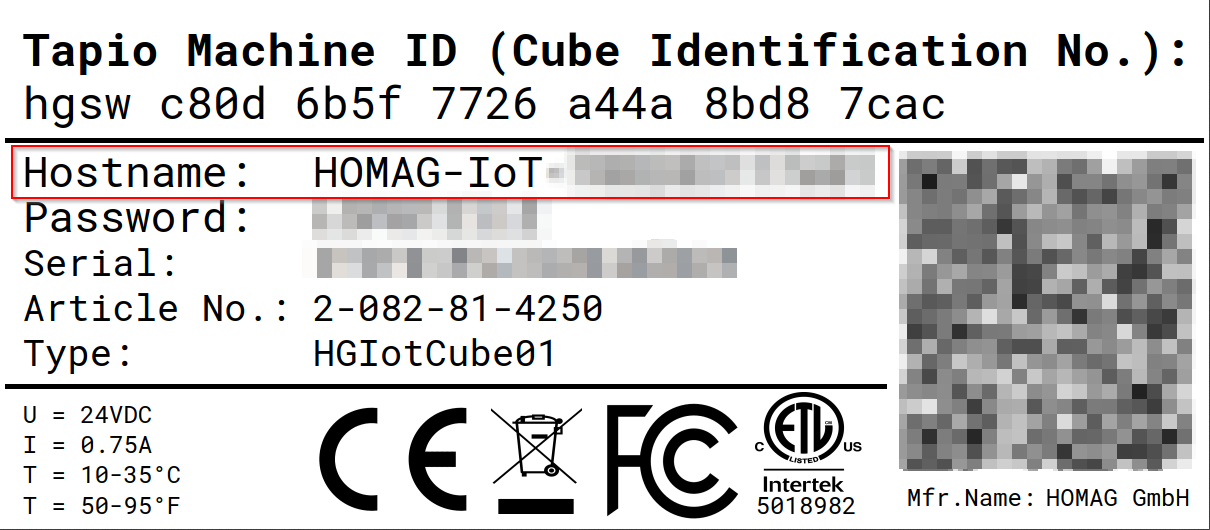
Scan the QR code on the back of the CUBE with your tablet. Please use the large QR code on the right side of the label.
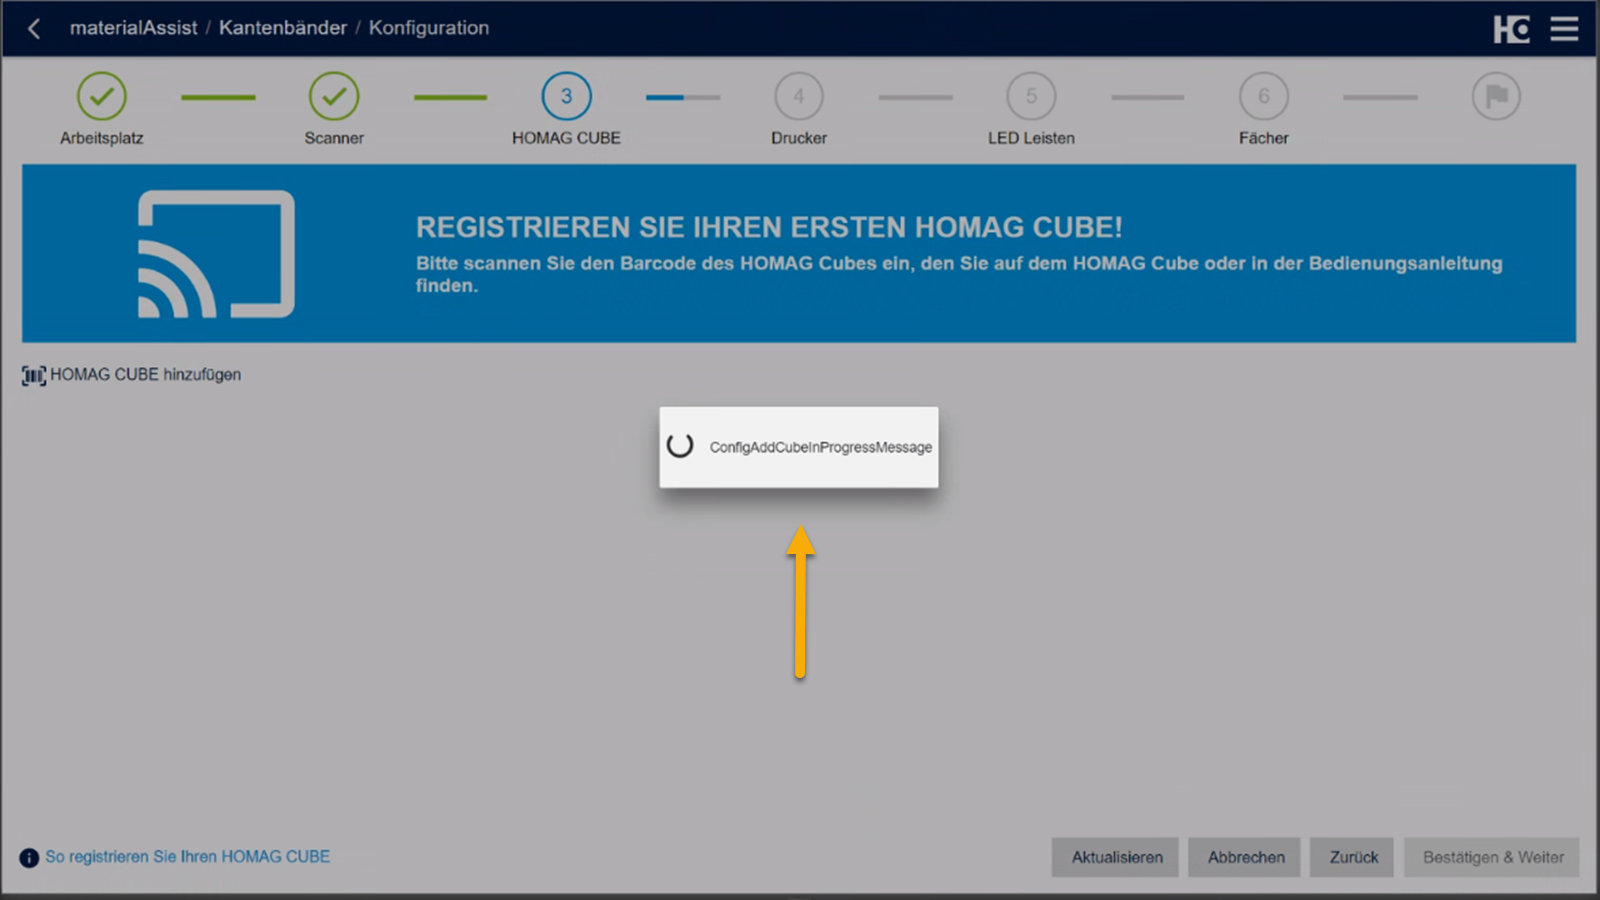
Adding the HOMAG CUBE takes a little time
Adding the HOMAG CUBE takes a little time
After the HOMAG CUBE has been successfully added, select the required printer to be used at this workstation.
Step 4: Configuration of the printer
The integration of a printer is necessary for the printing of labels. The devices connected to the HOMAG CUBE are displayed for selection in the next step.
It is also possible to select a printer that is connected to another HOMAG CUBE at another workstation. Please take into account the size of the labels inserted in the device. It is possible, e.g. to also use the printer of productionAssist Cutting for materialAssist Boards.
Before using the printer, it is necessary to select the label size (1) and calibrate (2) it.
The printing can be verified by outputting a test label (3). The alignment can be modified, if necessary, by adjusting the spacing (4).


Selection of a printer
Configuration of the printer
After setting up the printer, you can select a label design. 2 different label designs are offered in the standard.
Note: You can upload your company logo in my.tapio.one so that it appears on your labels.
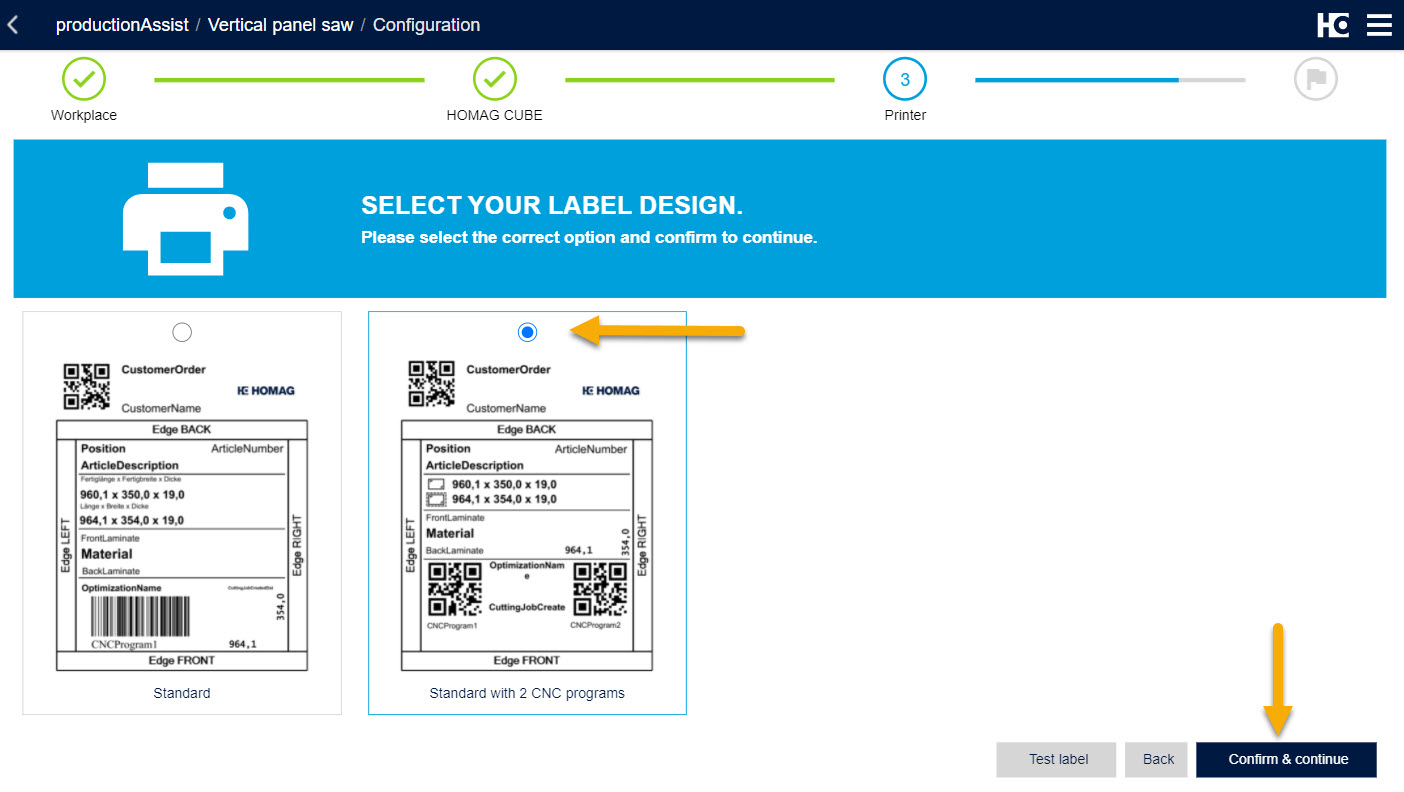
Selection of a label design
Step 5: Completing the configuration
Once all steps have been performed, the configuration is complete and the workstation can be used.
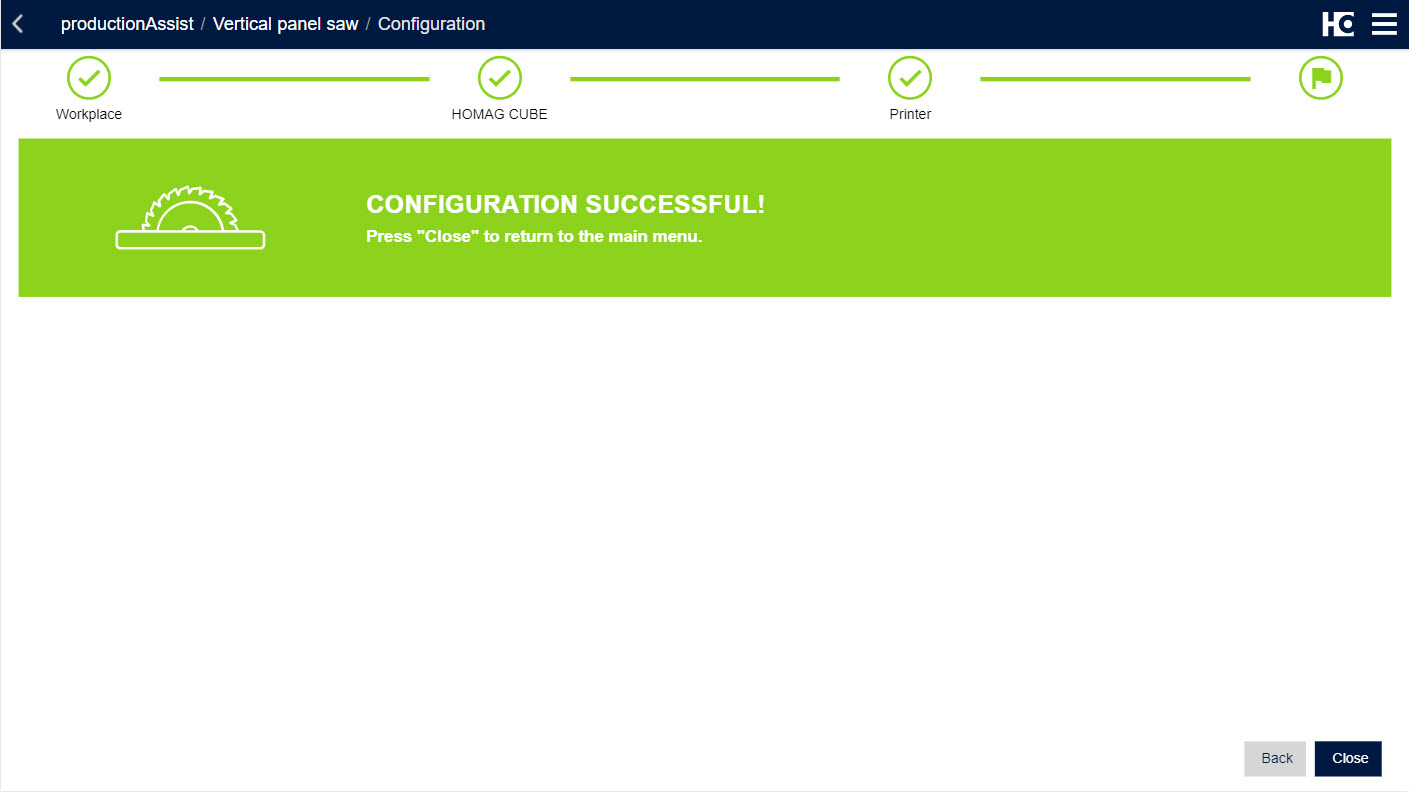
Completing the configuration
Note: The configuration can be restarted any time by clicking on the configuration icon.