Configuration
The productionAssist feedback is a component of the digital job folder, the productionManager.
When the productionAssist app is opened for the first time, no workstations are created. Click on the Add Workstation button in the bottom left-hand corner to add the desired workstation from a list of available, predefined workstations.
Once all the configuration steps have been completed, the Configure button turns into a cogwheel. You can make subsequent changes by clicking on the cogwheel.
As soon as the configuration has been successfully completed, the workstation is displayed in the Order progress in productionManager.
Note: The Add Workstation button is displayed as long as licenses are available. You can find out how to purchase additional licenses in the Subscribe to interfaces chapter.

Adding a workstation
The workstations are arranged by workstation type along the furniture production process chain. Select the desired workstation from the list of available workstations.
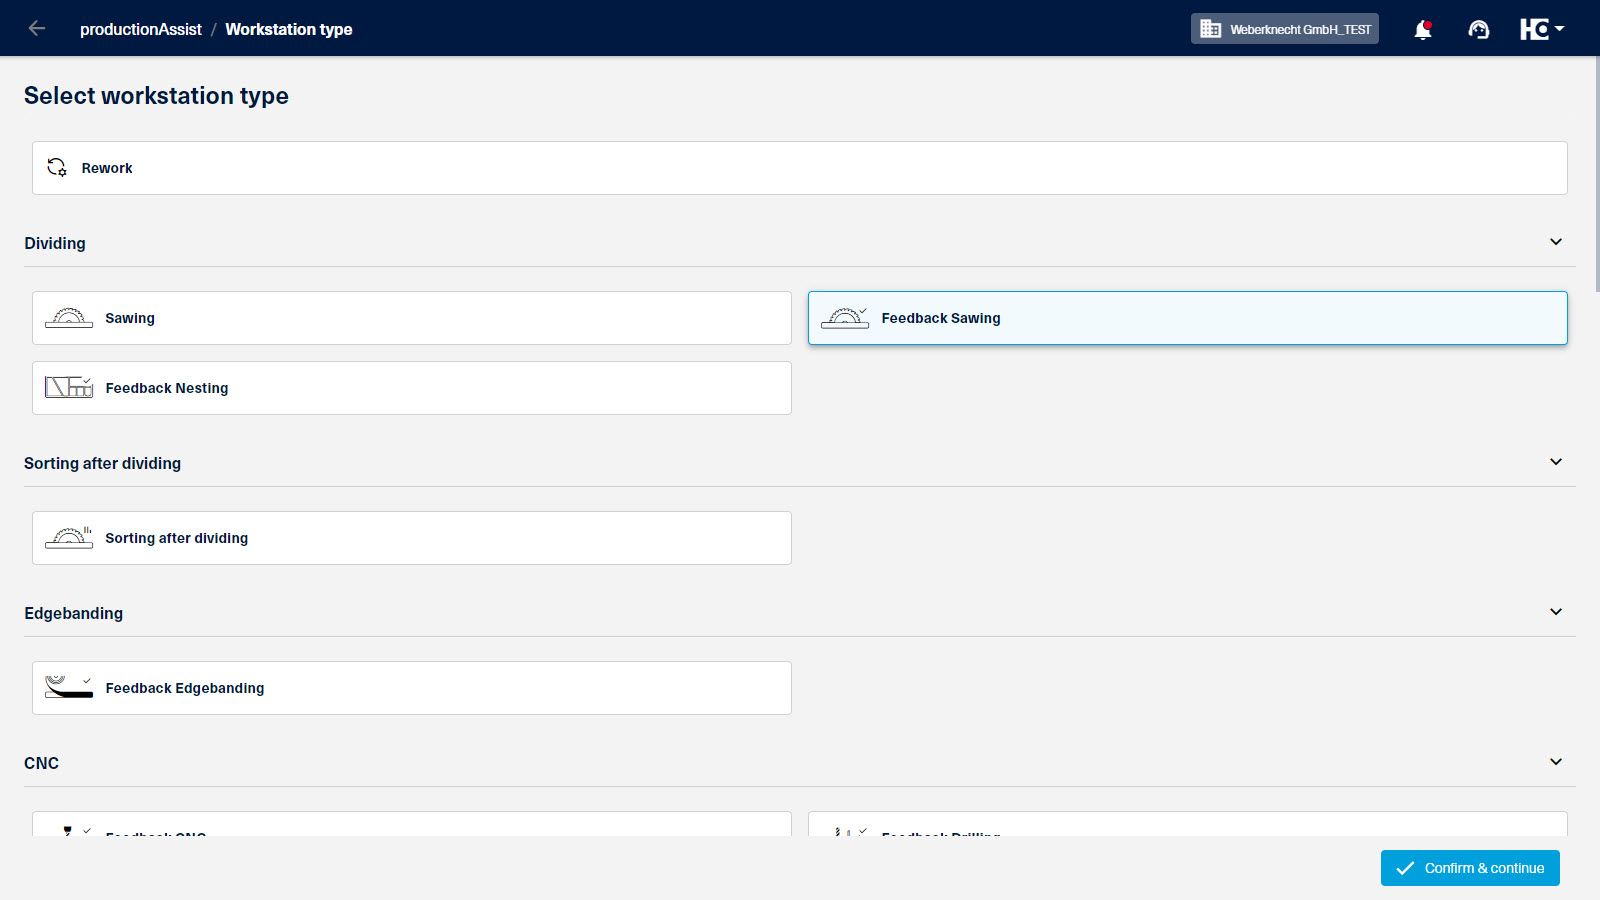
Selection of a workstation
The app guides you through the configuration in individual steps.
Step 1: Adjust workstation
In the first step, the name of the workstation can be adjustet. Assigning a name that is as descriptive as possible will make selection in the overview easier later on.
By activating the checkbox "Last workstation, status is set to completed.", the status of a part is marked as completed after it has been reported as completed in this workstation.
In addition, you can choose between two functions that are executed as soon as a part code is scanned.
If the "Parts feedback" option is selected, the scanned part code is immediately reported as finished.
If the option "Display of part details and optional feedback" is selected, the part details are displayed. A ready message is optional.
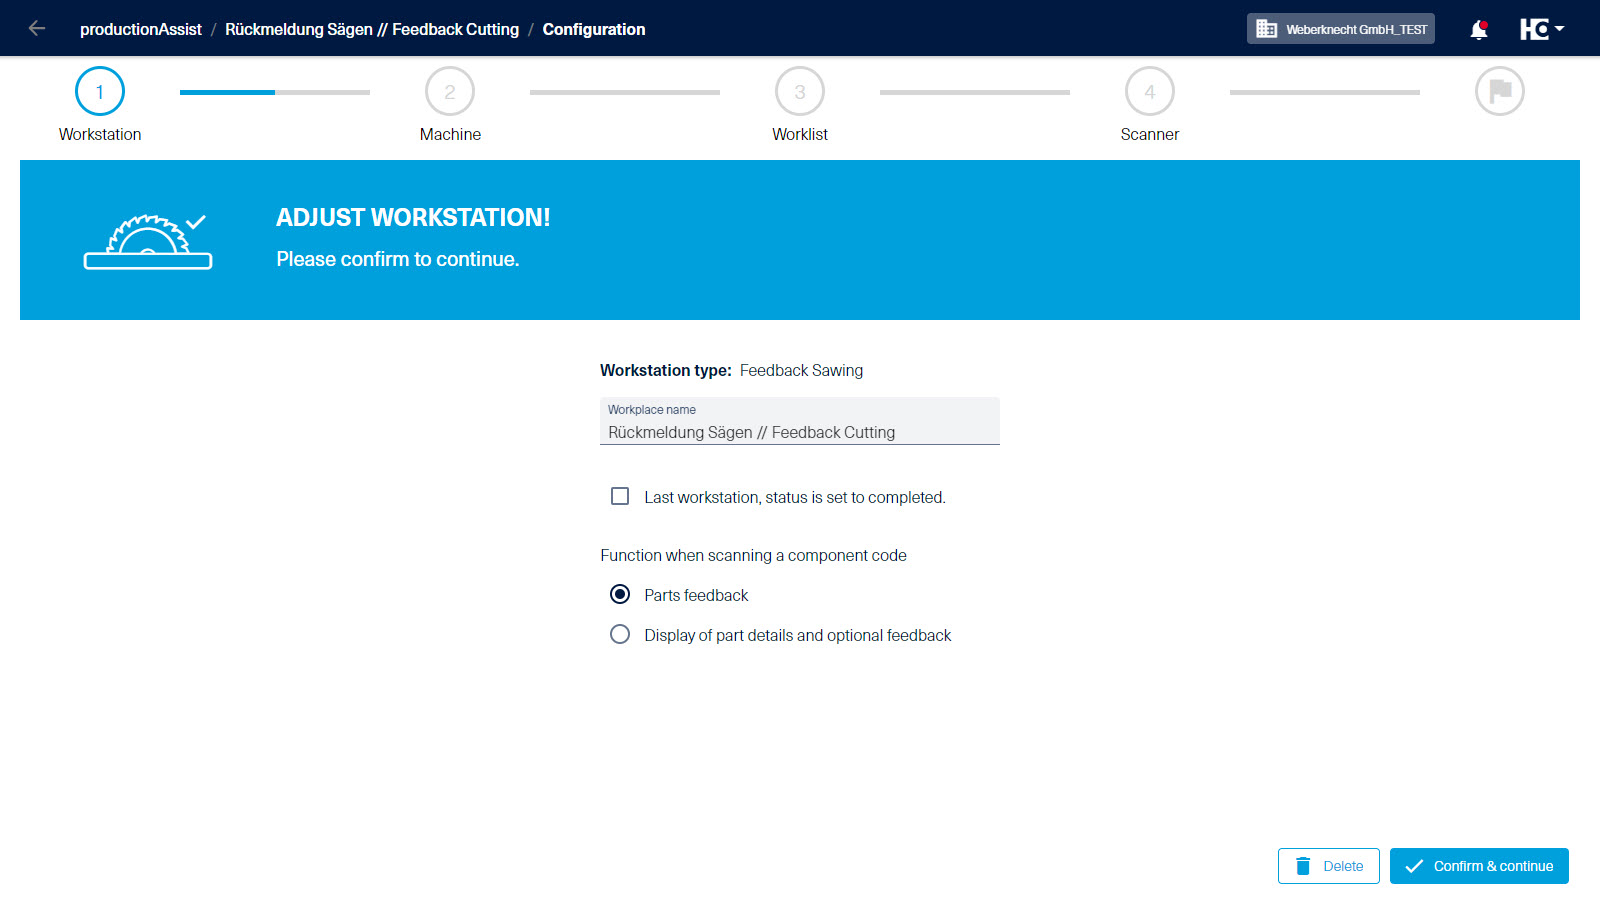
Assigning a name to the workstation and selecting the function
Step 2: Select machine
In the second step, you can select a machine from your list of suitable configured machines on tapio. You can assign this to your workstation.
In this case, please refer to the chapter Feedback of machines.
You can skip this step by clicking on the Continue without machine button.
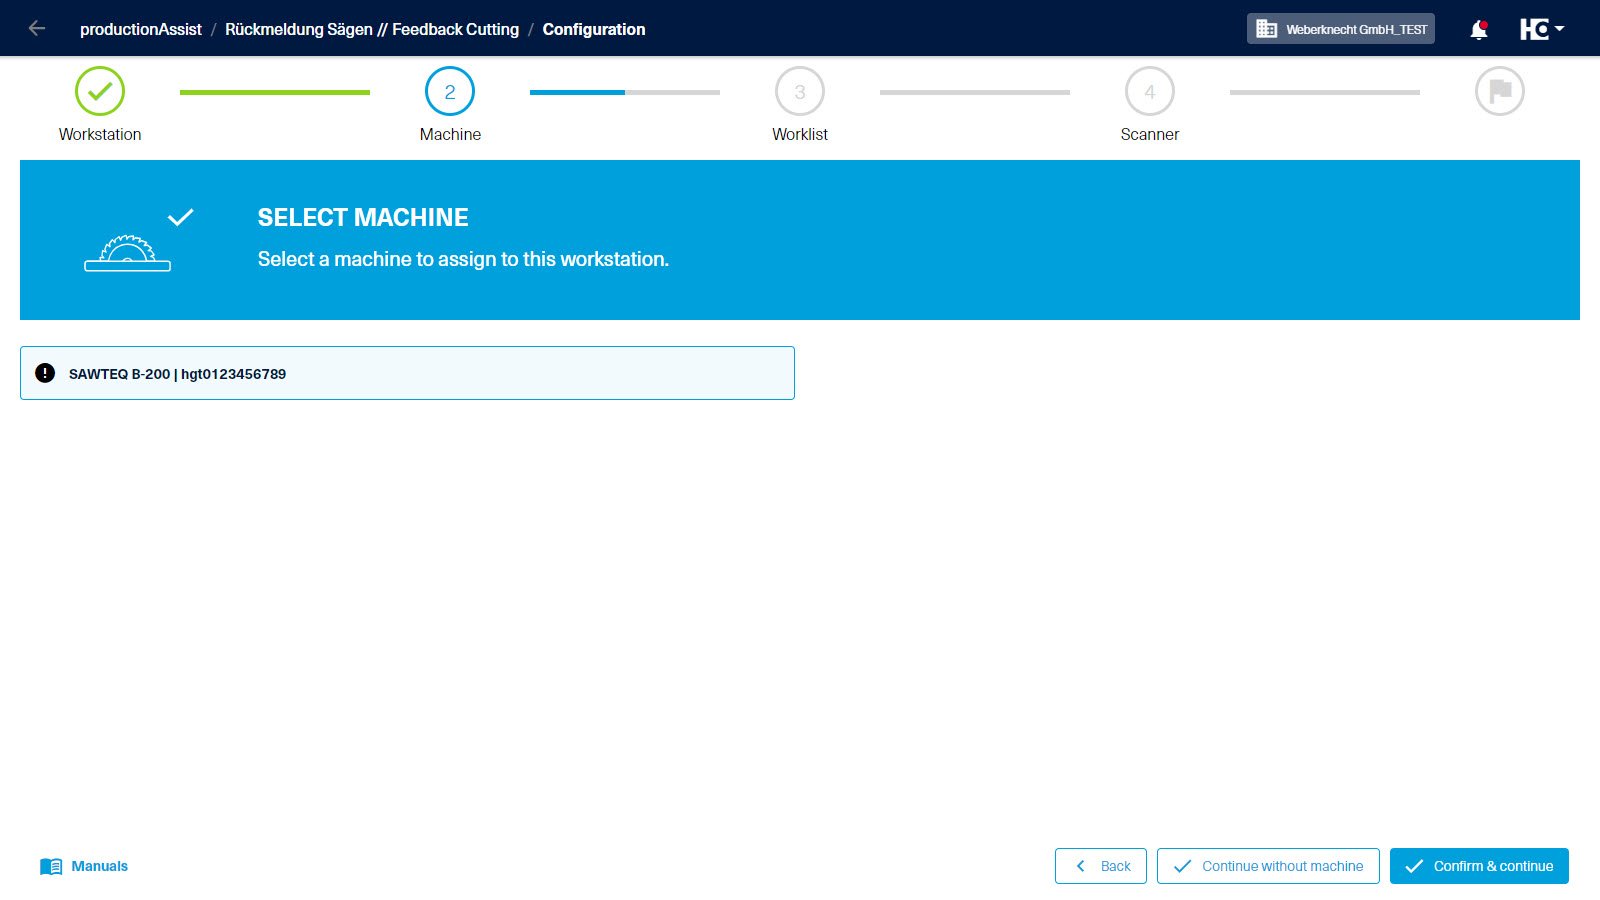
Select machine
Step 3: Filter worklist
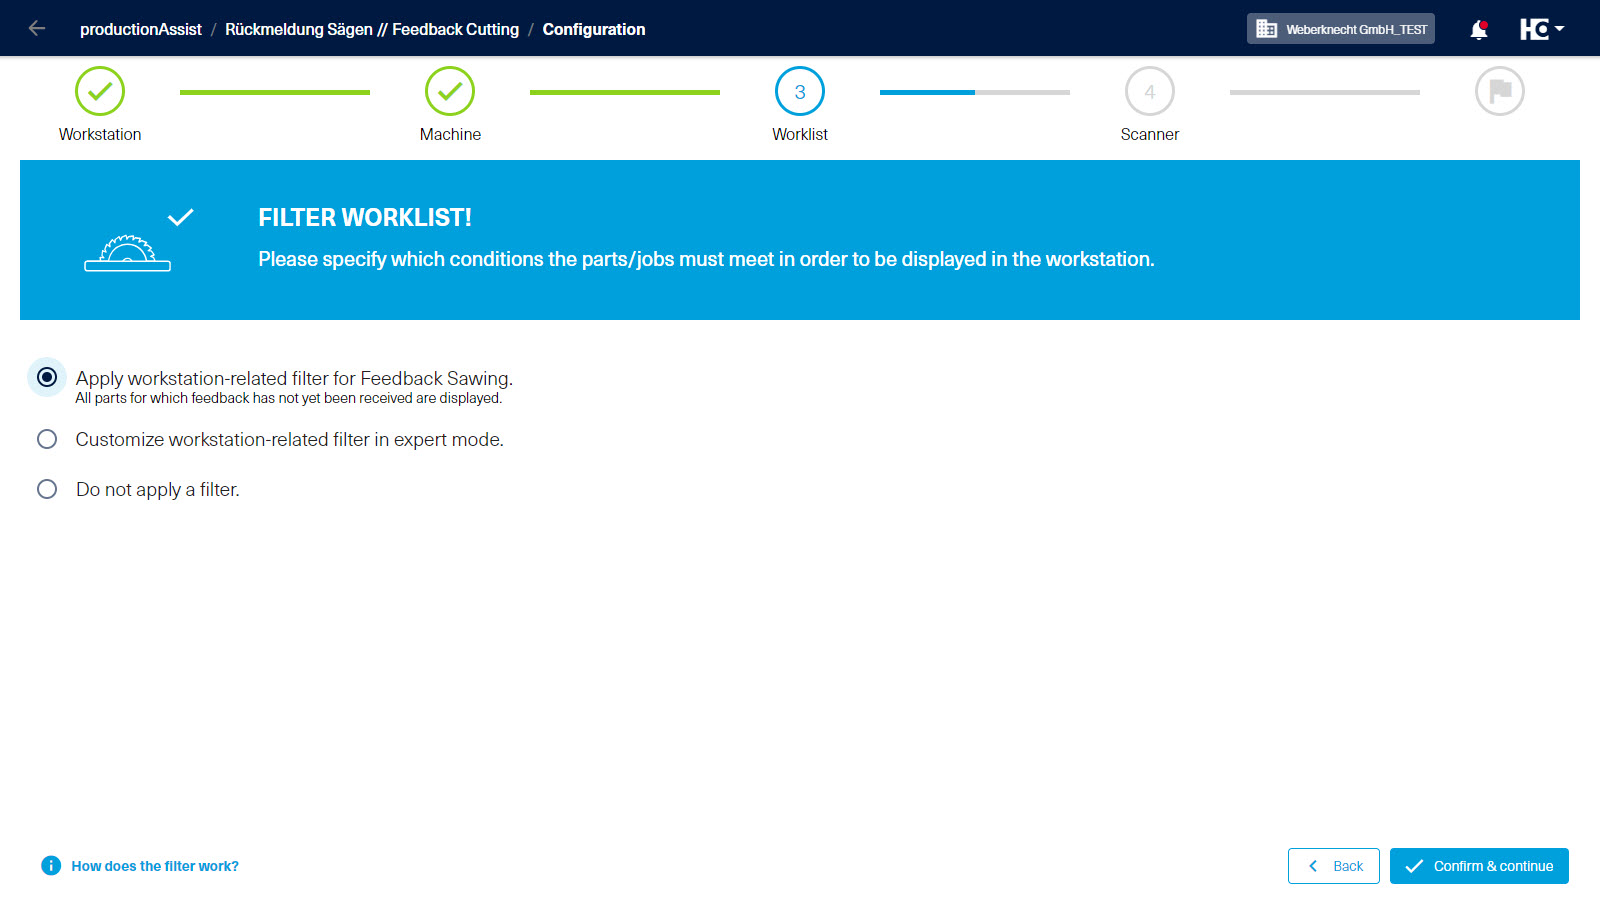
Here you can define which conditions the parts, assemblies and articles must fulfill in order to be displayed in the worklist of a workstation.
To make the settings easier for you, various predefined options are suggested for many workstation types.
Workstations with predefined options
Two options are always available for the workstation types listed below.
- Option: Customize workstation-related filter in expert mode.
Description: In expert mode, all fields of a part, an assembly or an article are available for you to set the filters you require. - Option: Do not apply a filter.
Description: All released parts, assemblies or articles are displayed in the worklist of this workstation, regardless of their properties.
Various options in the step "Filter worklist"
Customization of a filter in expert mode
Additional option for workstation type "Feedback Sawing"
- Option: Apply workstation-related filter for Feedback Sawing.
Description: All parts are displayed that have been assigned a length* or width* and have not yet been confirmed in the Sawing workstation group.
*Length, width fields
Additional options for workstation type "Feedback Edge banding"
- Option: Apply workstation-related filter for Feedback Edgebanding.
Description: All parts for which at least one edge* has been defined and for which feedback has not yet been received are displayed. - Option: Apply workstation-related filter for Feedback Edgebanding and take the processing performed into account.
Description: All parts for which at least one edge* has been defined and that have already been processed on upstream workstations are displayed.
*Fields Edge front, Edge back, Edge left, Edge right
Additional options for workstation type "Feedback CNC"
- Option: Apply workstation-related filter for Feedback CNC.
Description: All parts for which at least one CNC program* has been defined and which have not yet been confirmed in the CNC workstation group. - Option: Apply workstation-related filter for Feedback CNC and consider performed machining operations.
Description: All parts for which at least one CNC program* has been defined, which have not yet been confirmed in the CNC workstation group and which have already been processed on upstream workstations (workstation Sawing and Edge banding).
*Fields CNC program 1, CNC program 2
Additional options for the workstation type "Feedback Laminating"
- Option: Apply workstation-related filter for Feedback Laminating.
Description: All parts for which at least one lining* has been defined and for which feedback has not yet been received are displayed. - Option: Apply workstation-related filter for Feedback Laminating and take the processing performed into account.
Description: All parts for which at least one lining* has been defined and that have already been processed on upstream workstations are displayed.
*Fields Coating bottom, Coating top
Additional options for the workstation type "Feedback Pre-Assembly"
- Option: Apply workstation-related filter for Feedback Pre-Assembly.
Description: All parts are displayed. - Option: Apply workstation-related filter for Feedback Pre-Assembly and consider performed processing.
Description: All parts are displayed that have not yet been confirmed in the pre-assembly workstation group and that have already been processed at upstream workstations. For this filter condition to apply, at least one upstream workstation must have reported a part as completed.
Additional options for workstation type "Feedback Assembly"
- Option: Apply workstation-related filter for Feedback Assembly.
Description: All articles* are displayed. - Option: Apply workstation-related filter for Feedback Assembly and consider performed processing.
Description: All order items* are displayed that have not yet been confirmed in the assembly workstation group and that have already been processed at upstream workstations. In order for this filter condition to apply, prefabrication (workstation type Sawing, Edge banding and CNC) must be completed for all parts of an order item.
*Type field = Customer order item
All other workstations
For all other workstations that are not listed here, you can set the filters according to your requirements in the expert mode.
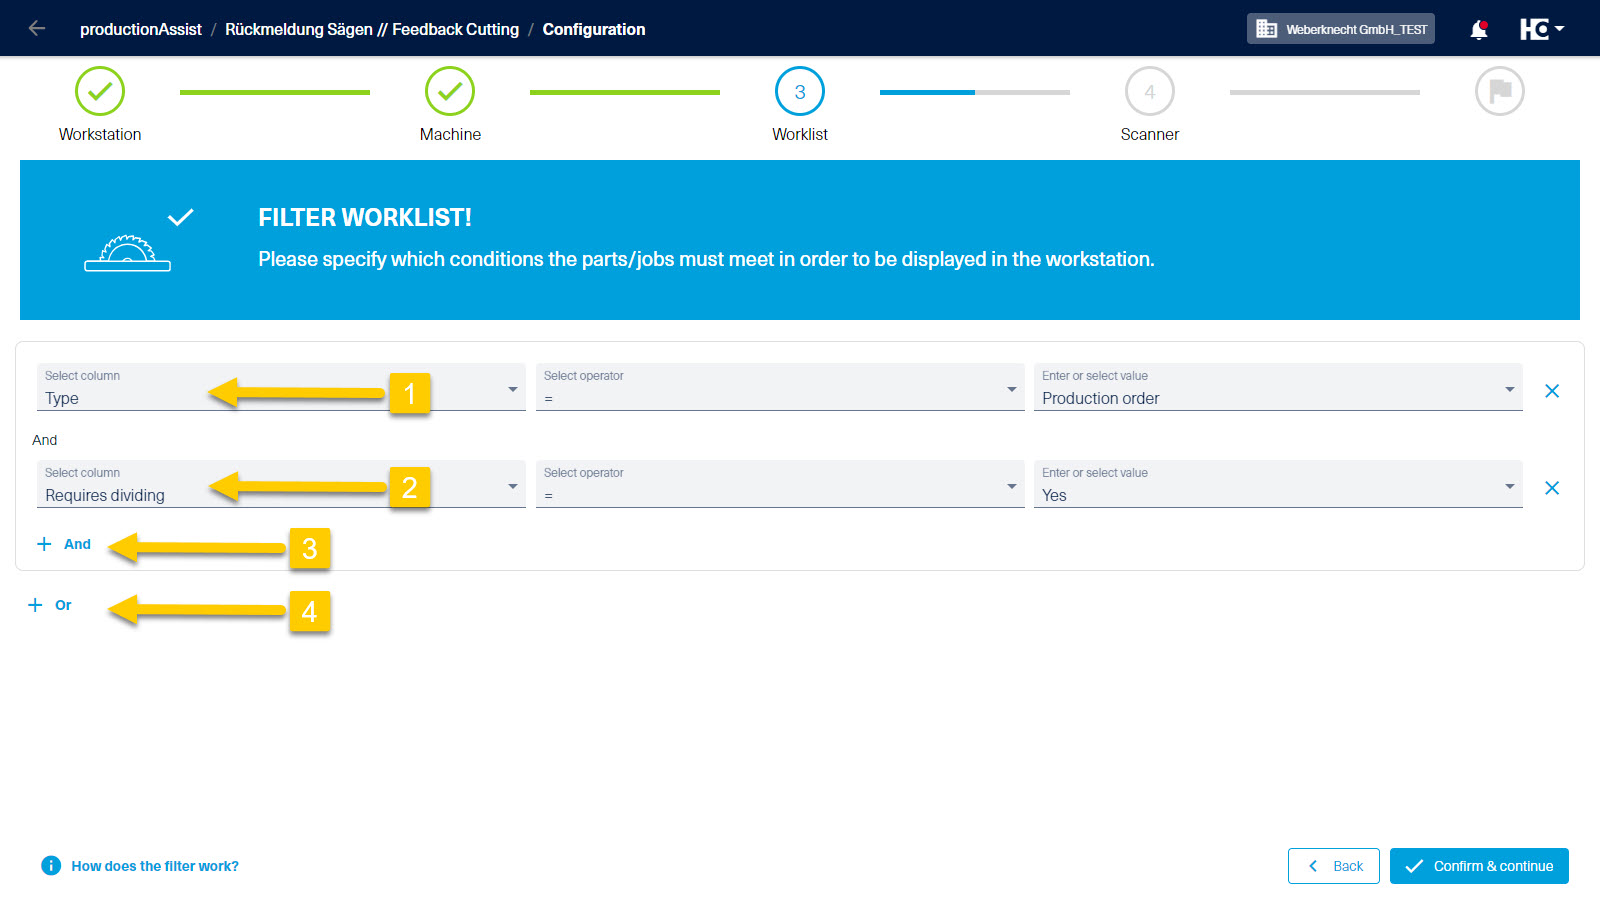
Tips for expert mode:
- Depending on the workstation type, it makes sense to only display those parts, assemblies or articles that are relevant for the relevant workstation.
- The "Type" field (1) can be used to set whether parts, assemblies or articles are displayed in the workstation. The value "Production order" represents parts, the value "Assembly" represents assemblies and the value "Sales order item" represents articles.
- You can use the "Requires dividing" (2), "Requires edge banding", "Requires CNC processing", "Requires laminating" and "Requires prefabrication" fields to quickly filter by the properties of a part. "Requires edge banding" means, for example, that at least one edge of the part must be covered.
- You can use the status fields, such as "Edge banding status", to set whether the production progress of a part should be taken into account.
- Click on the + And button to add an "And condition" to the existing filter (3).
- Clicking on the + Or button adds a new filter in the form of an "Or condition" to the existing filter (4).
- In expert mode, you are offered the second option of the workstation types listed below for customization.
- Just try it out! You can adjust the settings at any time or fall back on the predefined options.
Step 4: Connect the scanner and scan the code
If you are using a tablet, you must first connect a scanner via Bluetooth. If you are using the web app on a laptop or desktop, you can alternatively use a wired scanner.
The correct integration is checked by scanning the displayed matrix code. If the scanned code does not match the expected result, a corresponding message will be displayed and you will receive information on how to rectify the error here.
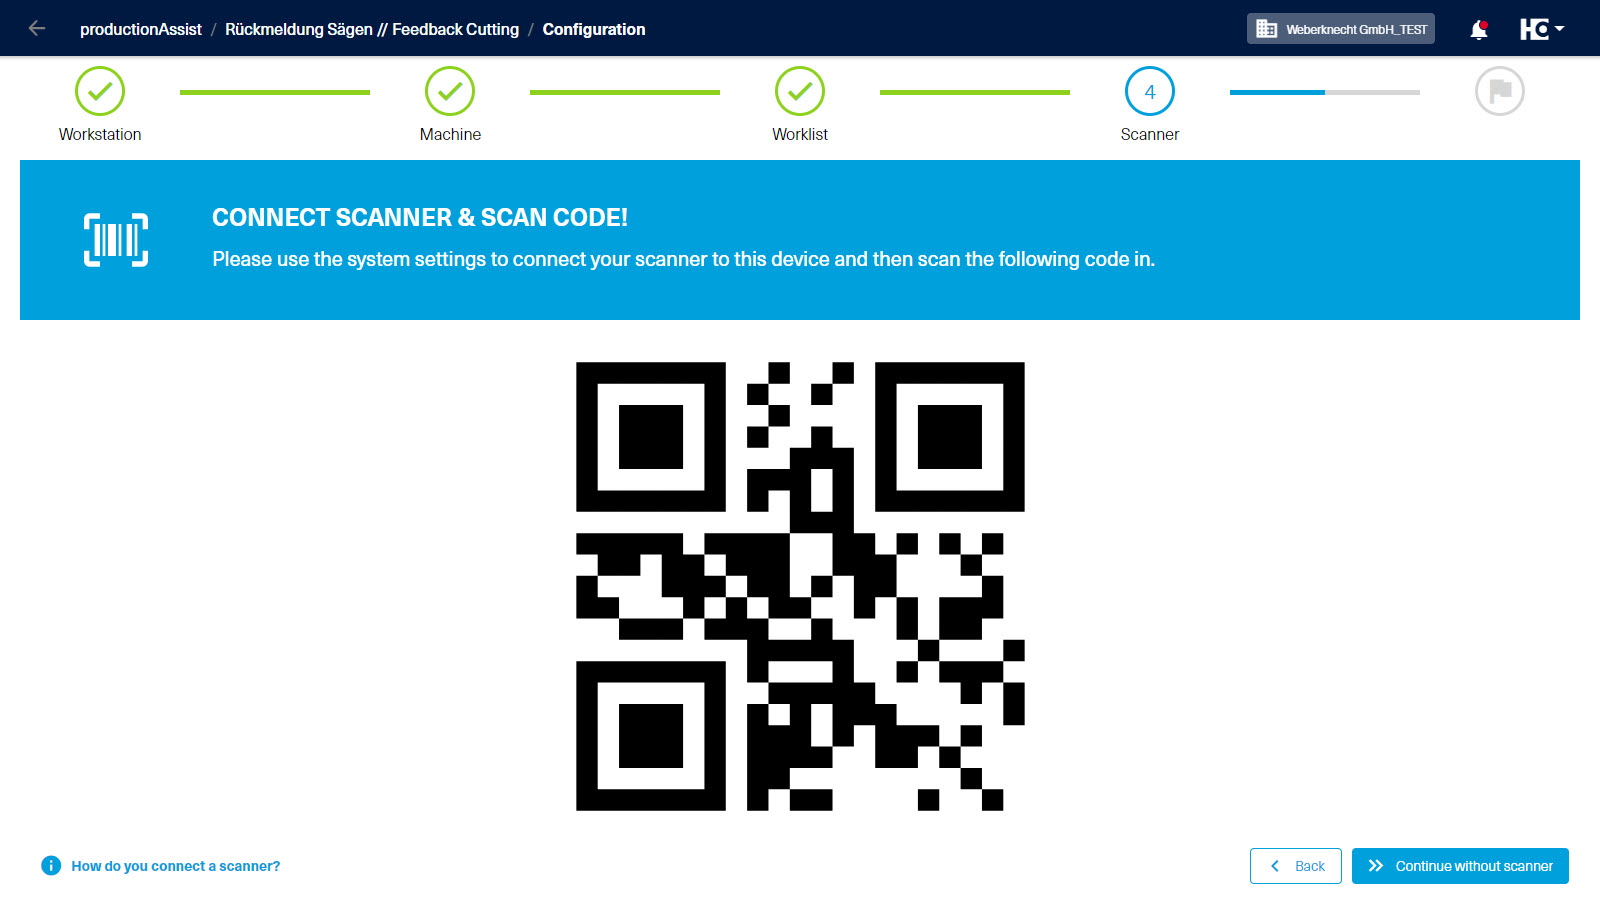
Connect scanner and scan code
The integration of a scanner is optional. However, working with the application in combination with a scanner is significantly simplified.
We have listed recommended models in the Equipment & hardware section and provide helpful configuration instructions for download. If required, a device can also be added later by calling up the configuration again. If no scanner is to be integrated, click on Continue without scanner to proceed to the next step.
Step 5: Completing the configuration
Once all steps have been completed, the configuration is finished and the workstation can be used.
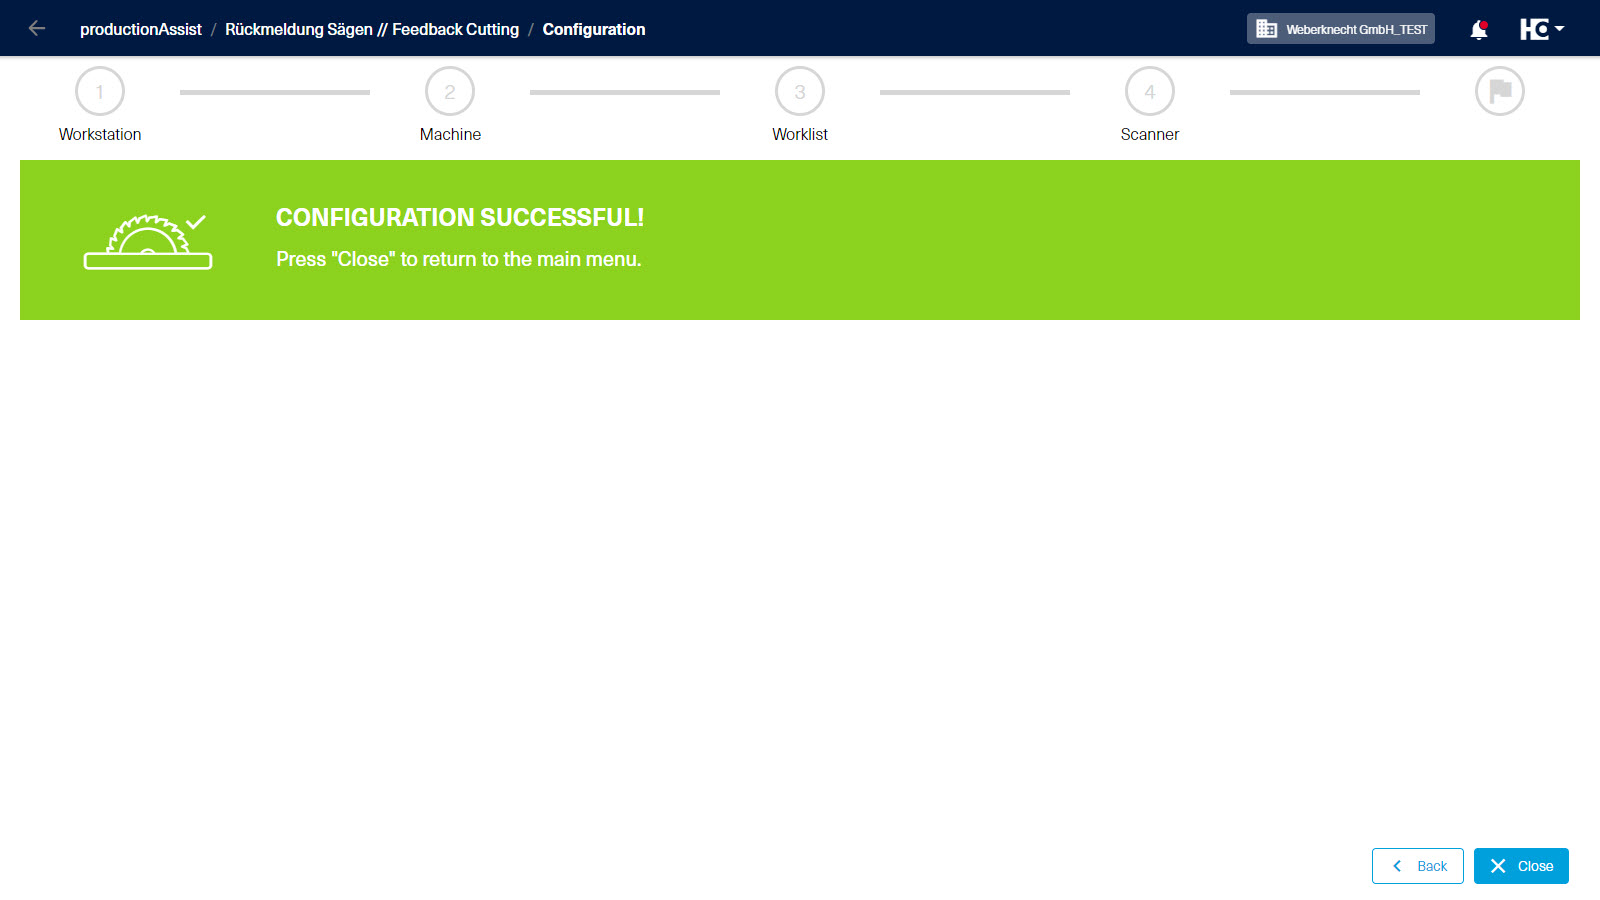
Completing the configuration
Tip: The configuration can be restarted at any time by clicking on the cogwheel icon in the workstation in the workstation overview.