Store material
On this page, we demonstrate how to store materials at a workplace using the example of an edgeband coil. The procedure for boards is identical.
The "Inventory" tab shows all materials which are suitable for the selected workstation and ready to be stored.
If the material you are looking for is not on hand, you can add the material.

Overview of storable material
To begin storing, first select the desired material. You can either scan the material or choose it from the list.
Scanning the material with a connected Bluetooth scanner
The easiest and quickest way to select materials is by using a Bluetooth scanner. Simply scan the label of the desired material in the "Store" view and the "Manual storage" dialog will open.

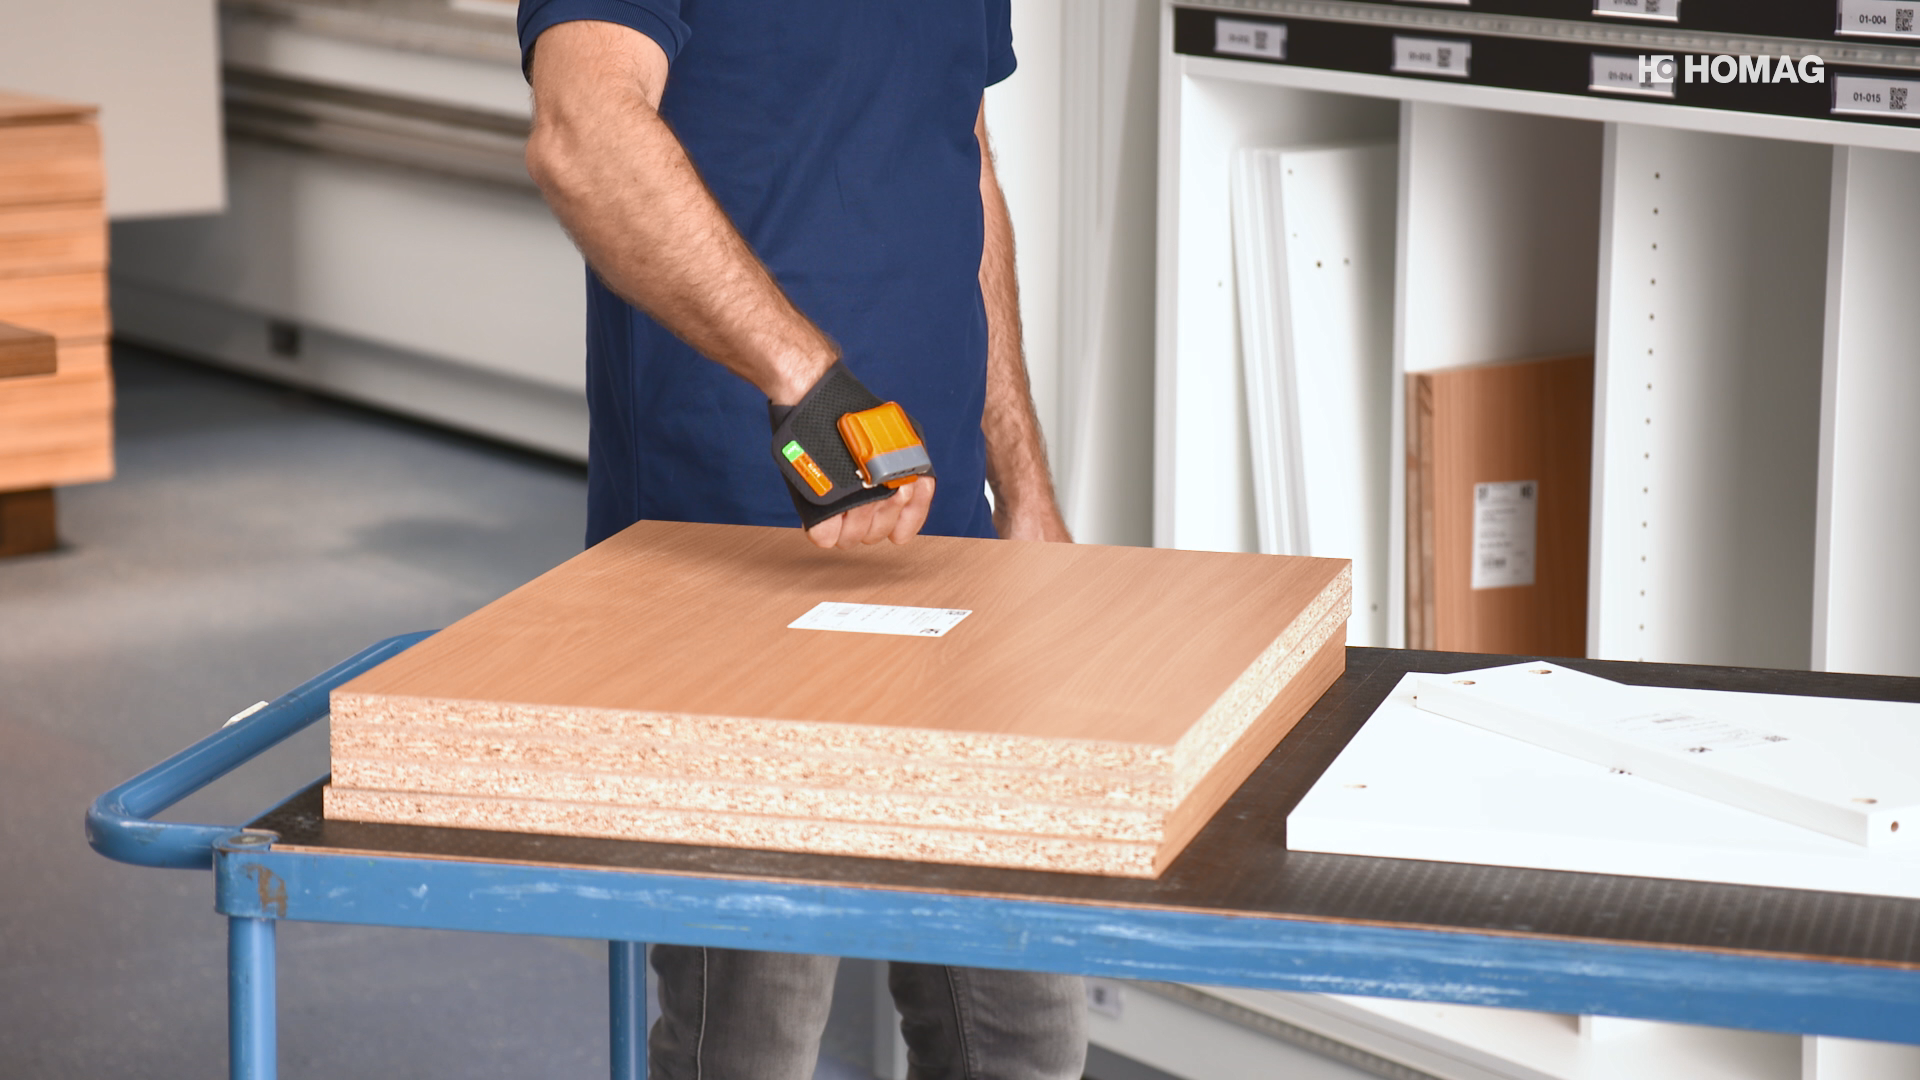
Scan label
Scan label and store board / offcut
Scanning the material with the tablet
Alternatively, you can add a material by scanning with the tablet. To do so, click the "Store & Relocate" Button, to open the scan window. Once you have scanned the label of the desired material, you will be taken to the "Manual storage" dialog.

Opening the scan dialog
Selecting the material from the list
When selecting a material from the list, the search and filter features allow you to search for specific material properties e.g. the edgeband code. You may add the desired filters through the table settings.
To store a material, click on the store button in the line of the respective material.

Select the desired material from the list
Selection of the storage location
After selecting a material, the dialog "Manual storage" appears.
Depending on the material type, different information concerning the condition of the material can be updated. For example, the remaining length of an edgeband can be adjusted. For offcuts and boards which are stored as single boards, the dimensions can be adjusted. The boards are then automatically converted into offcuts.
The application automatically suggests a storage location. When the material has been stored before, the previous storage location will be suggested. You may change the storage location at any time.
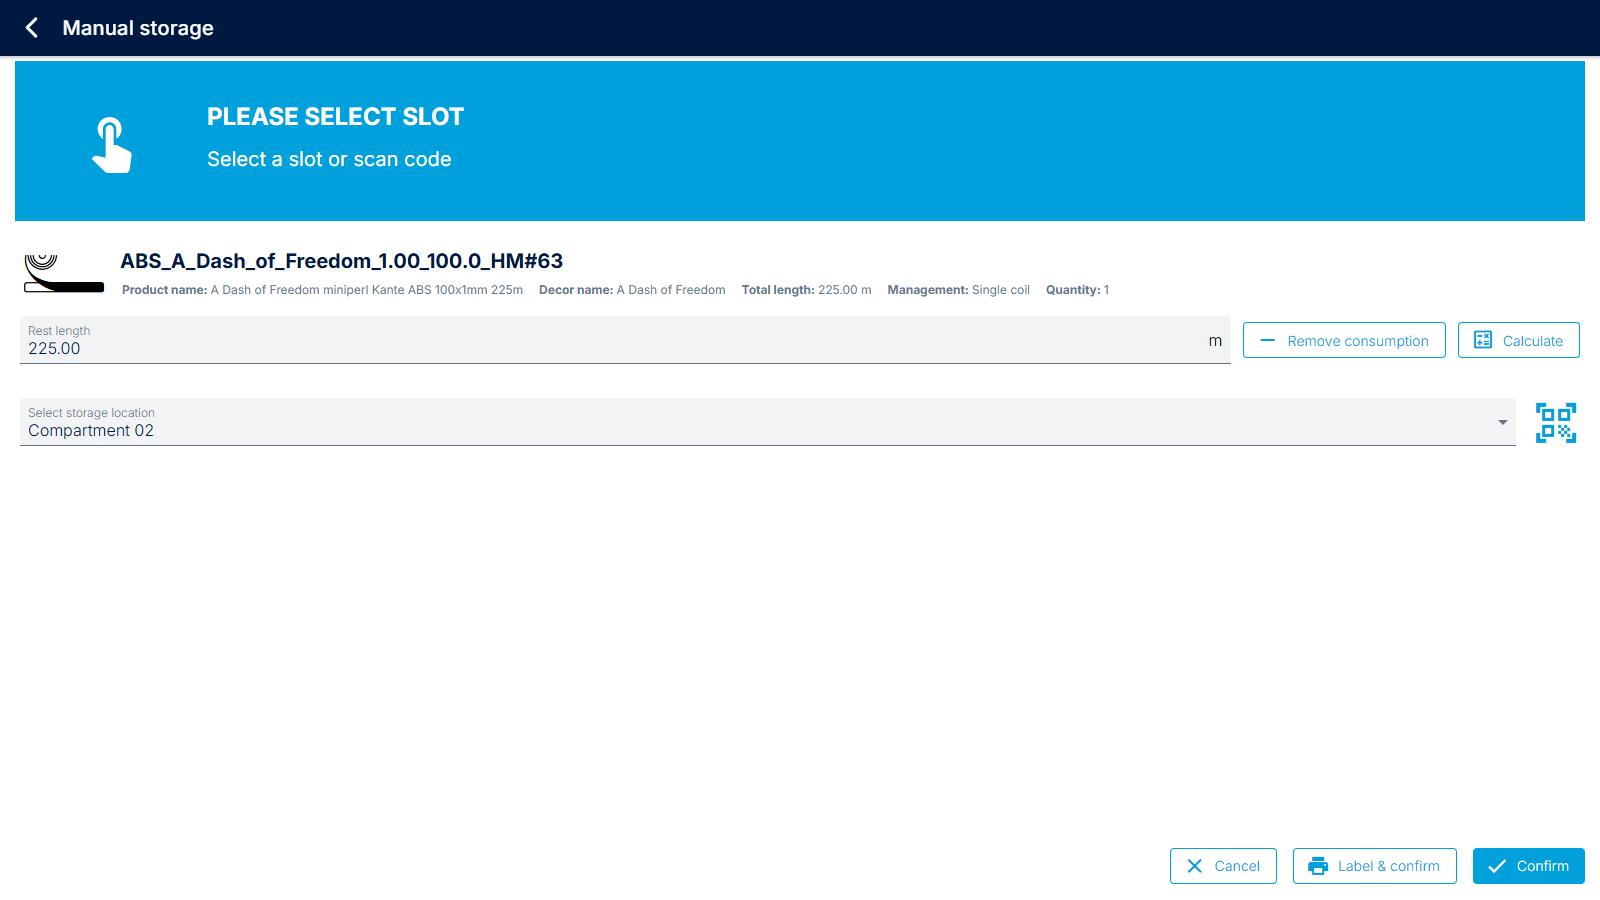
Dialog for "Manual storage"
Depending on the material type, the following storage methods have established:
-
Chaotic storage: Similar materials are stored slightly apart from each other. This prevents mix-ups during removal. The method is for instance used with edgebands
-
Single variety storage: Similar materials are stored close to each other. This method is e.g. used for boards.
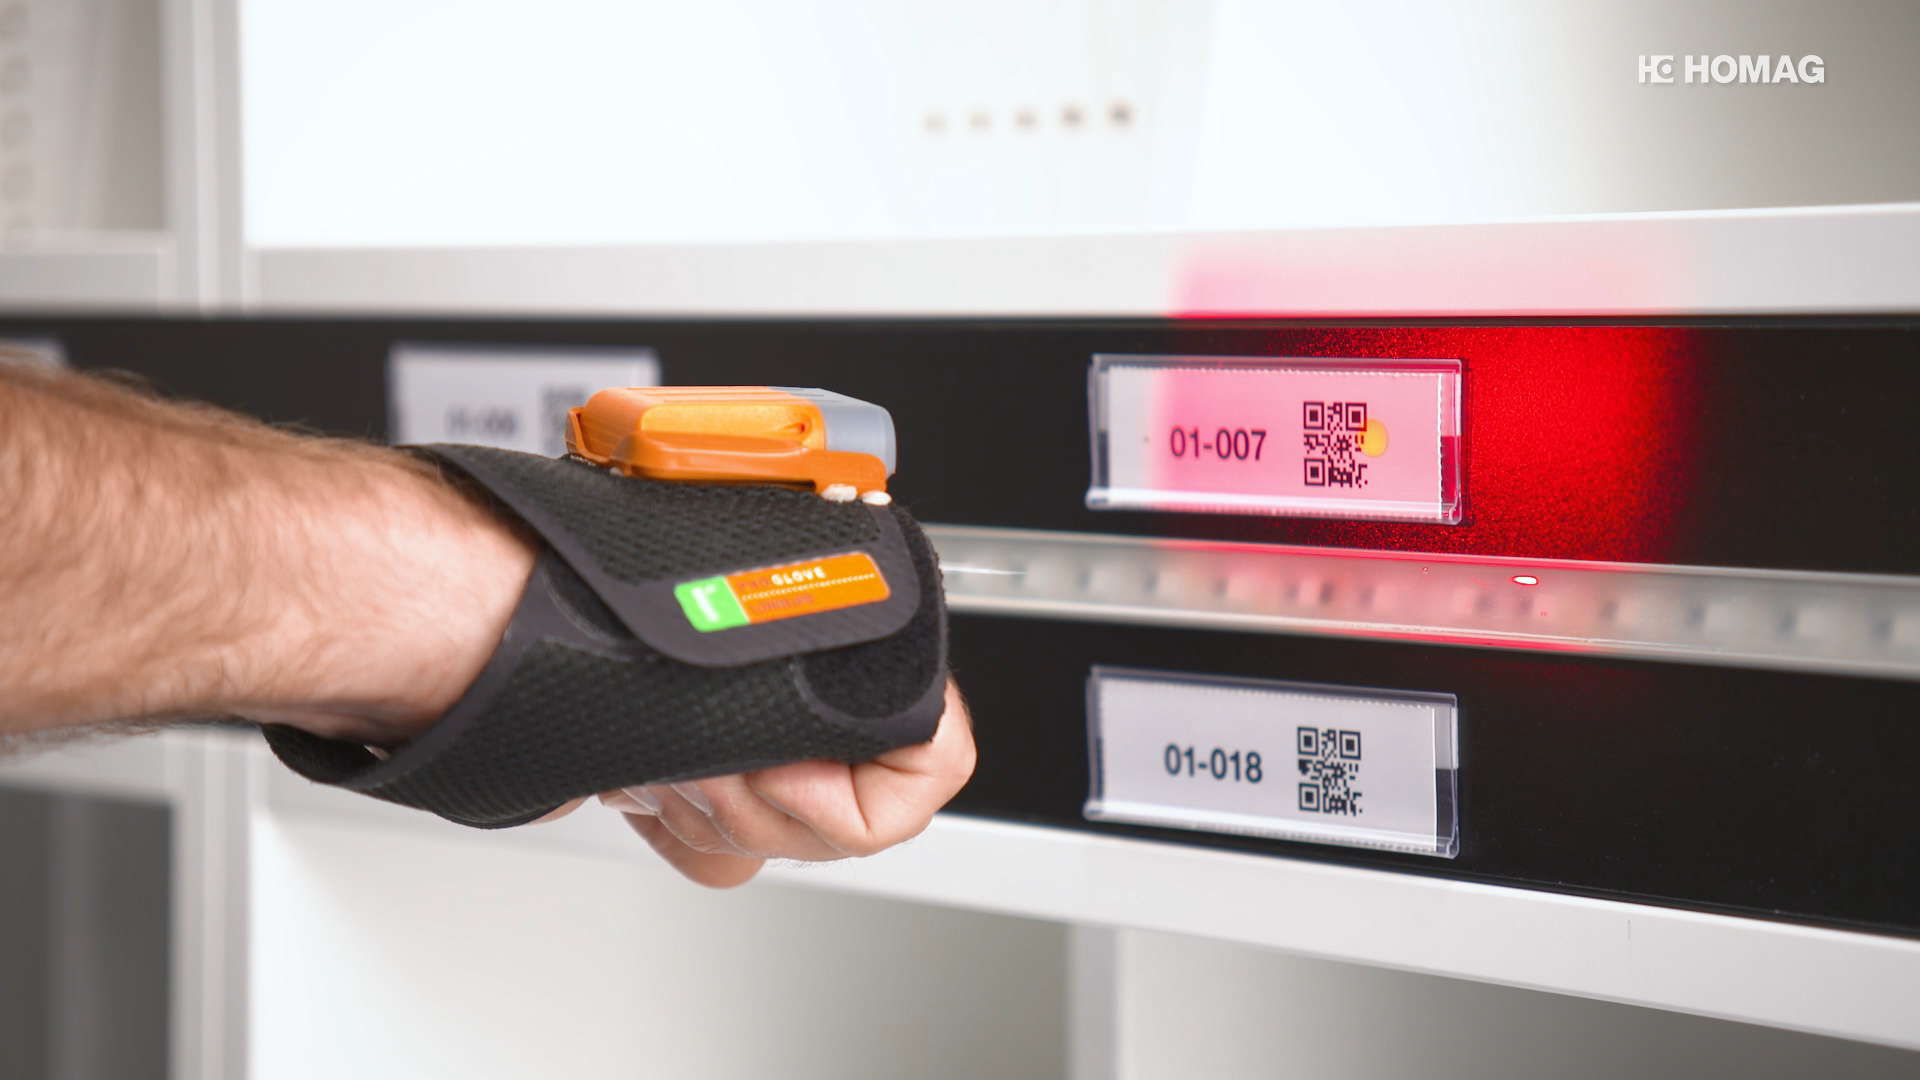
When the storage location is equipped with an LED strip, the suggested slot lights up in yellow. When the storage location is confirmed, the LED lights light up green.
Depending on the configuration, there are various options to adjust or confirm the selection of the storage location.
Scanning the storage location with a connected Bluetooth scanner
The fastest and easiest way to select a storage location is by scanning it with a connected bluetooth scanner. Once a location is scanned, the app automatically assigns the storage location to the material and closes the dialog. When the selected location is equipped with an LED strip, it will light up green to confirm the selection.
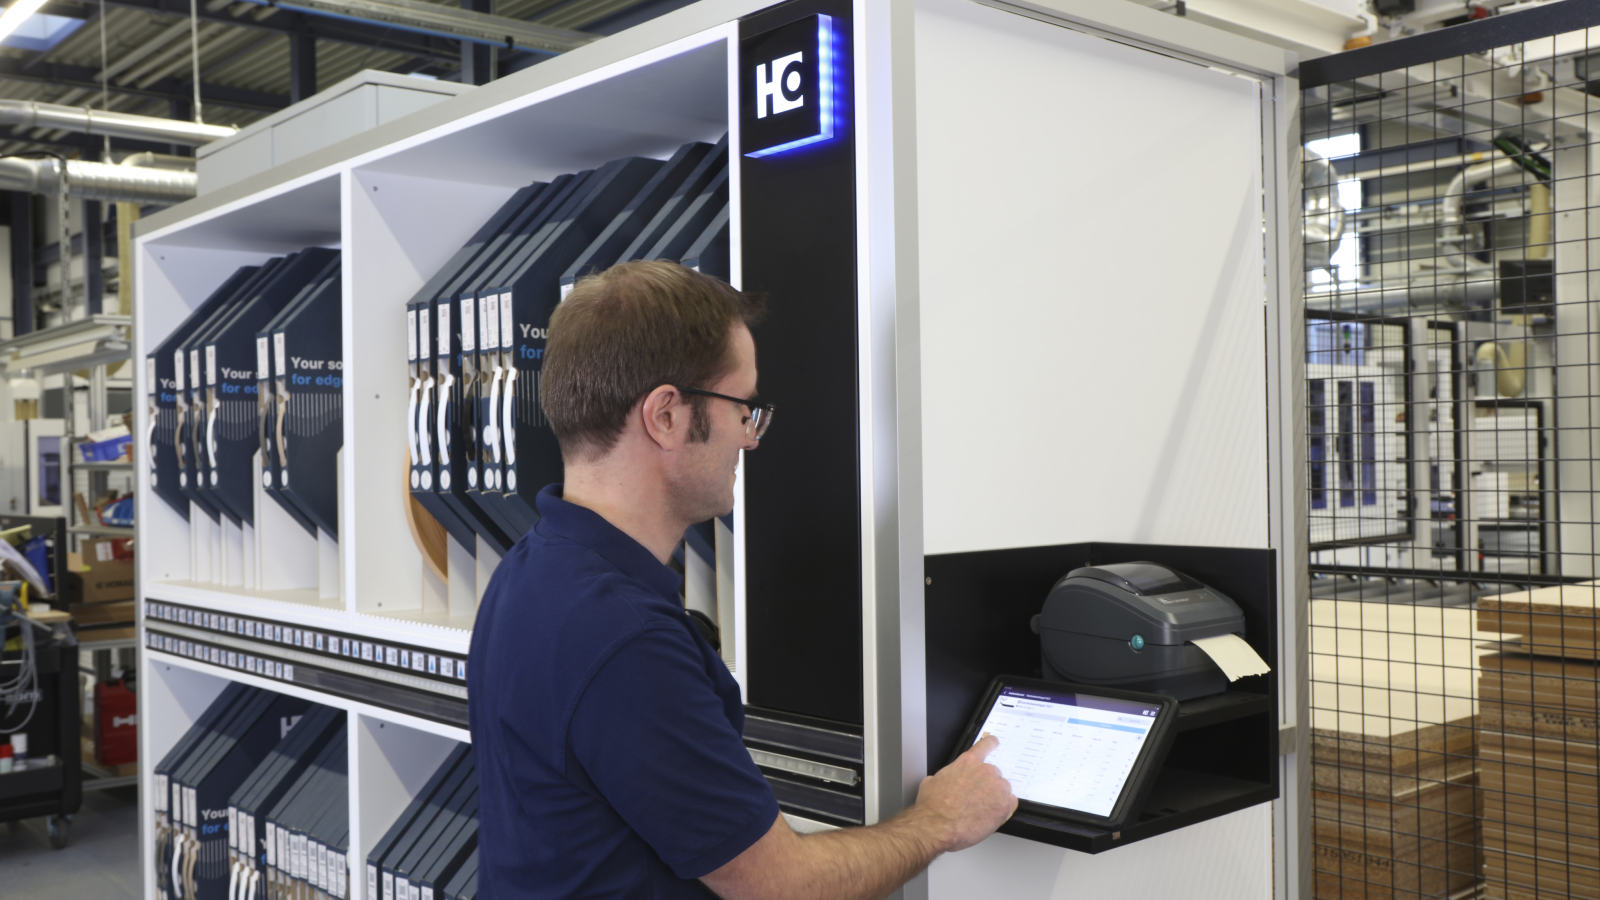
Selecting the storage location by scanning with the tablet
After clicking on the scan icon, the scan dialog opens on the tablet. Once a slot is scanned, the storage location is automatically assigned to the material and the dialog closes.

Selecting a storage location by scanning the location per tablet
Selecting the storage location by choosing from the list
After you click on the drop down list, the application will display all available storage locations from which you can select one. When there is an LED section assigned to the storage location, it will light up yellow. Click "Confirm" to assign the location to the material. When you also wish to print a label, click on "Label & confirm".
To easily perform these operations with the scanner, action QR codes are available to you.
Storage locations can also be assigned at a later time.

Choosing a storage location from the list