Lot generation
The lot generation option supports you in organizing and creating your production lots. Lot generation can be added from the productionManager Advanced version onwards.
You receive an overview of your orders to be planned and can combine them into lots based on key figures and transfer them to the cutting optimization.
Cross-order production lot generation can reduce material consumption by using the option of combining orders based on key figures (e.g. same materials).
At the same time, you can directly see the effects of the created lots on your production using relevant key figures for the most important workstation groups (dividing, edge banding, CNC, laminating, assembly and shipping).
Add “Lot management” tab in productionManager
To be able to use lot generation, you must purchase a license for this option. After purchasing, the additional tab lot management appears in productionManager and you can get started straight away.
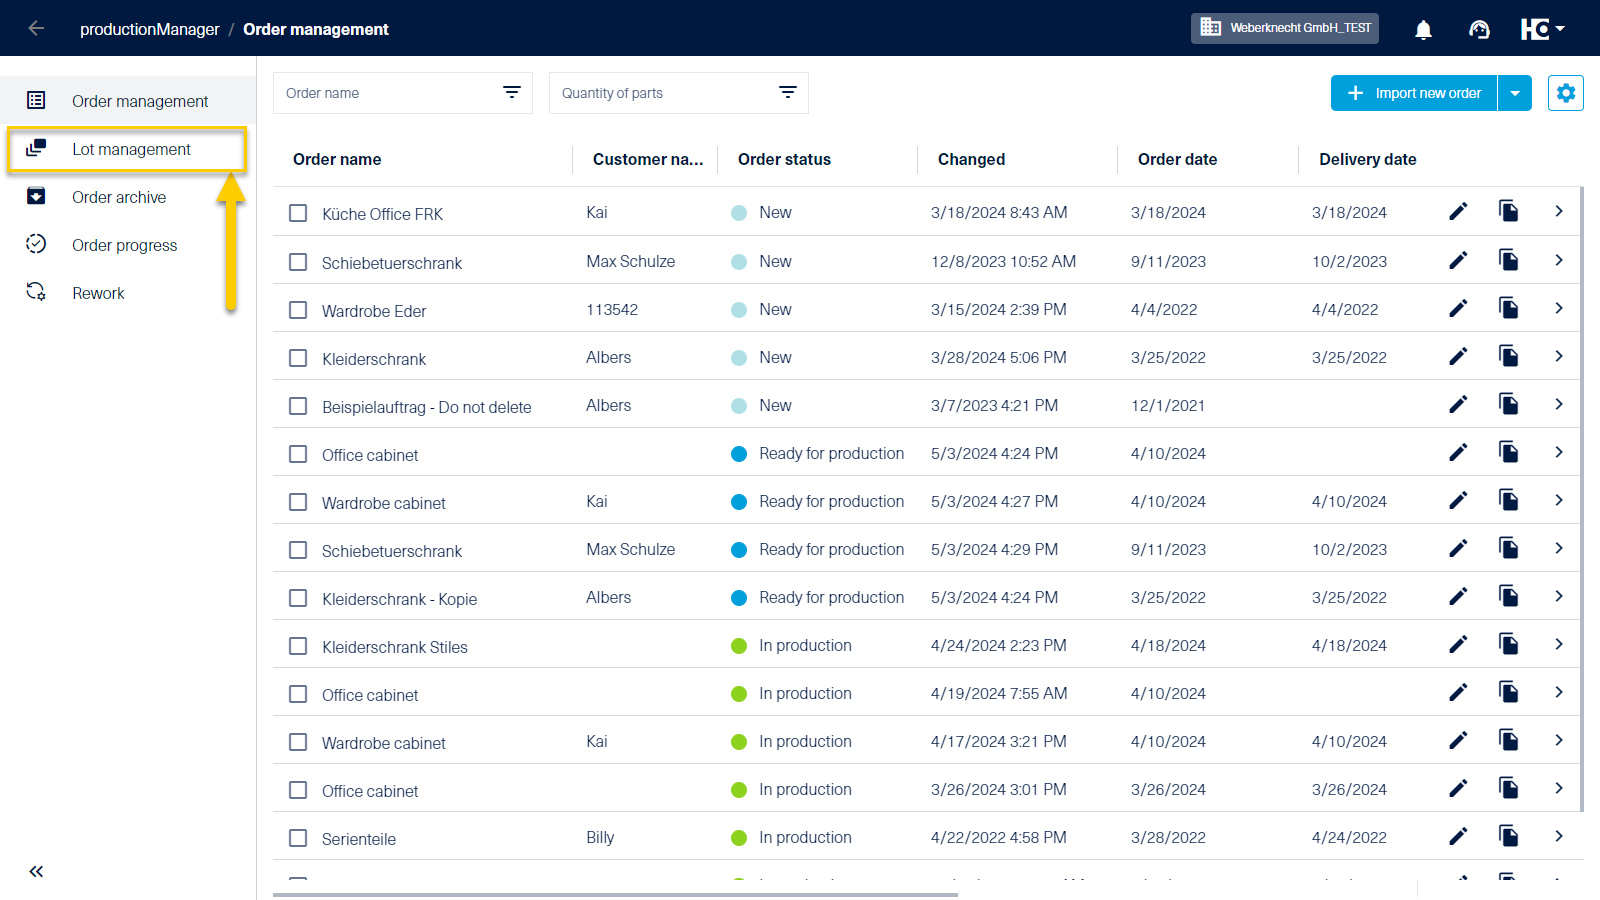
Additional tab "Lot management" in productionManager
Working with lot generation
Clicking on the lot management tab takes you to the corresponding overview. If lots already exist, you will see them clearly displayed as individual tiles.
The view in lot management is sorted by lot status, start date (planned) and change date. You can adjust the columns, sorting and filters via the settings.
Different options are available depending on the status of a lot.
| Status | Status color | Explanation |
|---|---|---|
| New | light blue | Once a lot has been created, it is assigned the status “New”. Editing is possible at any time. |
| Ready for production | dark blue | After transferring a lot to a cutting optimization, a lot receives the status “Ready for production”. Editing is possible at any time. |
| In production | light green | After starting production of a part, a lot is assigned the status “In production”. Editing is possible by decomposing a lot. |
| Completed | dark green | After the end of production of all parts of a lot, a lot receives the status “Completed”. Editing is no longer possible. |
Click on Add new lot to generate a new lot.
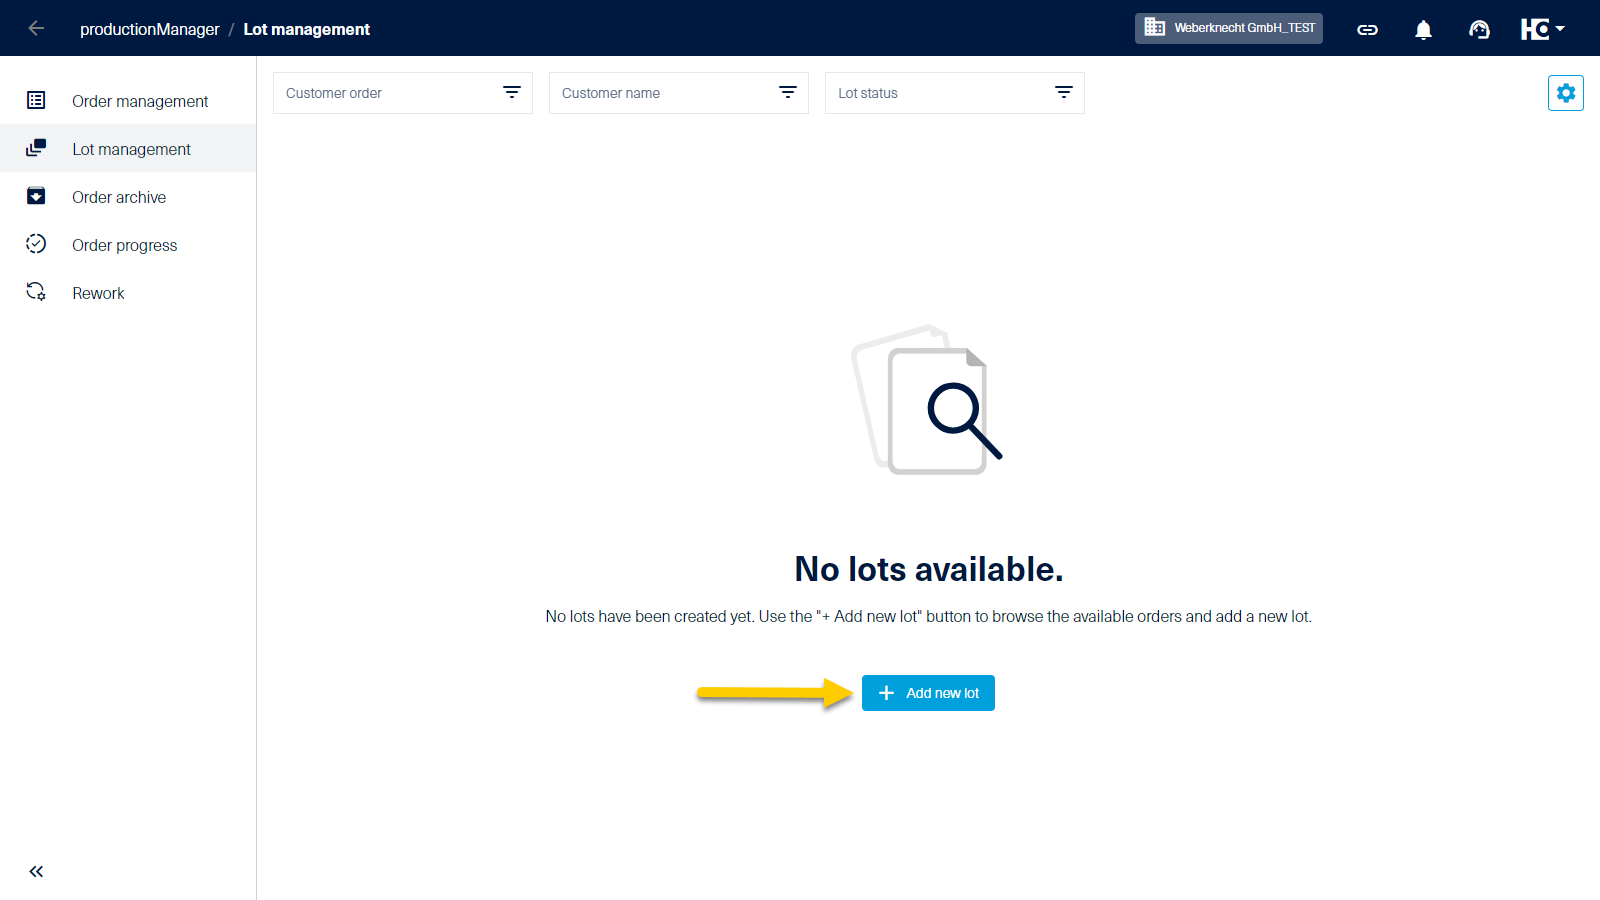
Overview of lot management
The lot generation and lot modification view is structured in three parts.
On the left-hand side, all orders are displayed that have the status “Ready for production” and are not yet part of a lot. By clicking on the “+” button, an order is added to a lot.
All orders contained in the current lot are displayed in the middle. A lot name (1) is suggested by the system. The suggested lot name can be adjusted and you can assign a planned start date (2).
On the right-hand side, you can see the key figures of the created lot and thus the effects on production for the most important workstation groups (dividing, edge banding, CNC, laminating, assembly and shipping).
The key figures are updated according to the orders added.
Tip: The lot name must be unique and should be as descriptive as possible. The app automatically suggests consecutive numbering. This can be supplemented with e.g. an abbreviation for a day of the week or the calendar week.
This enables a useful sorting, e.g. by displaying the oldest, not yet produced lots first.
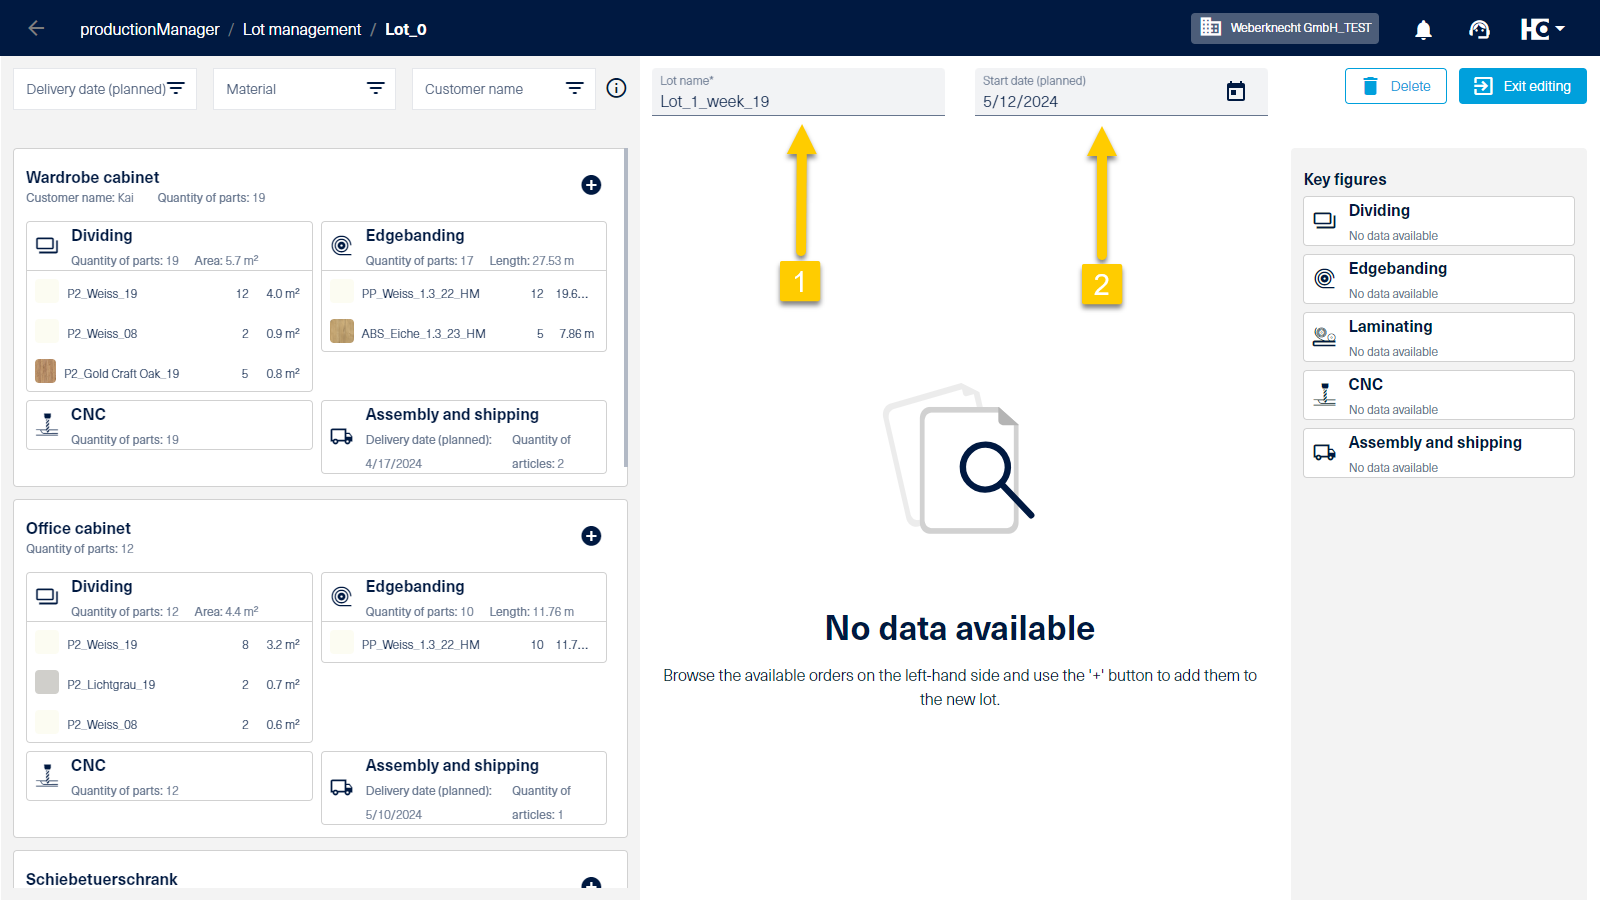
Initial view of lot generation and lot modification
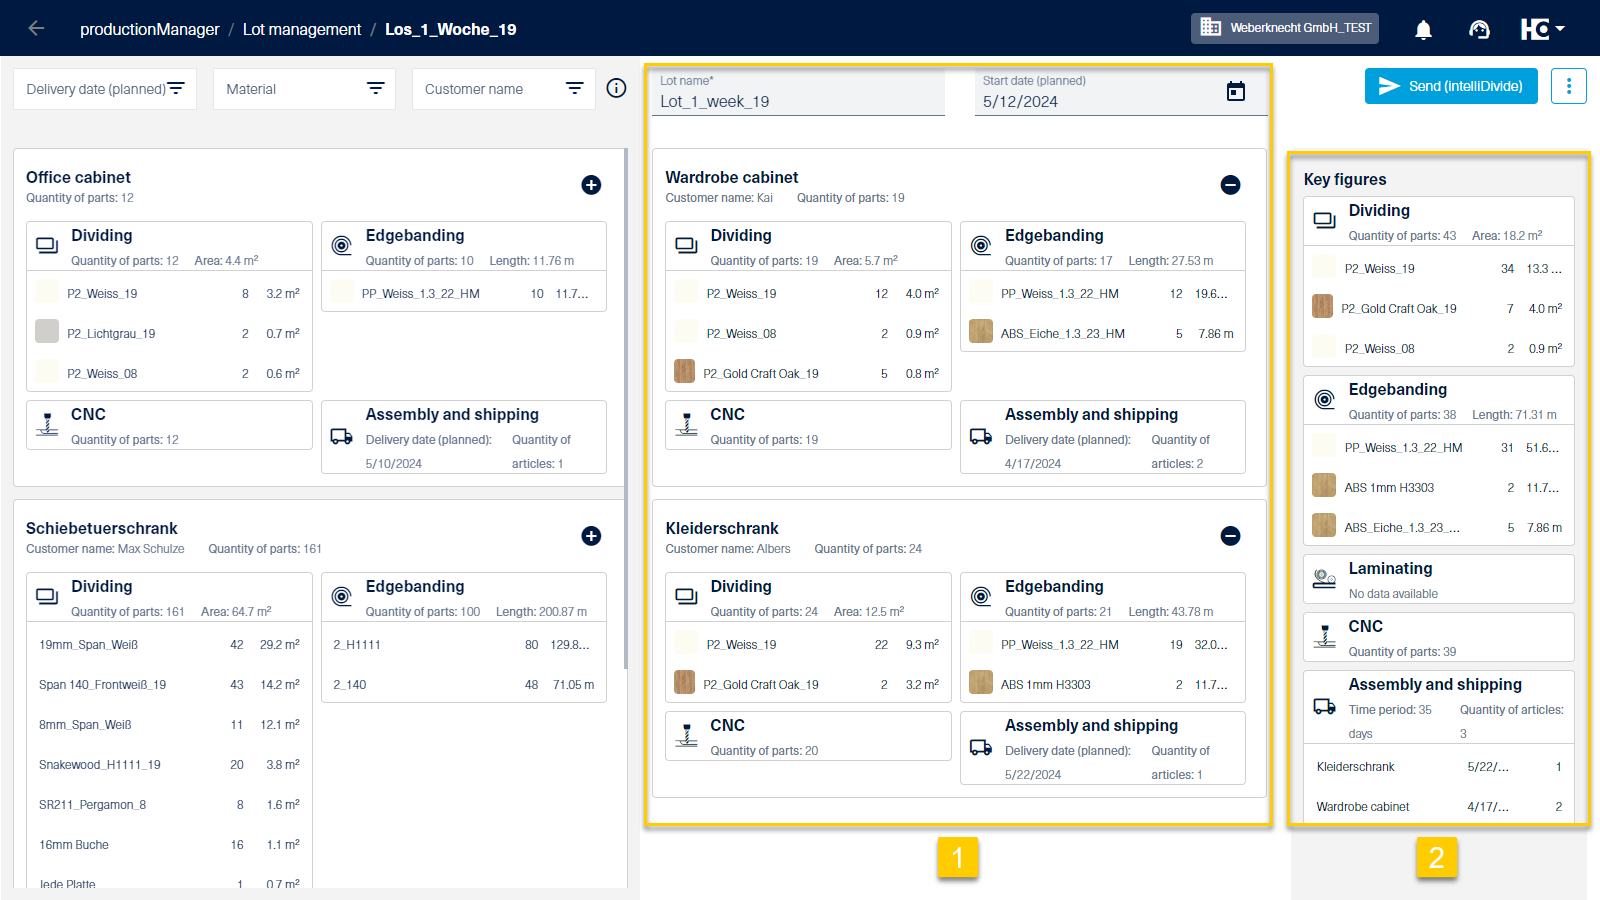
Generated lot (1) with key figures (2)
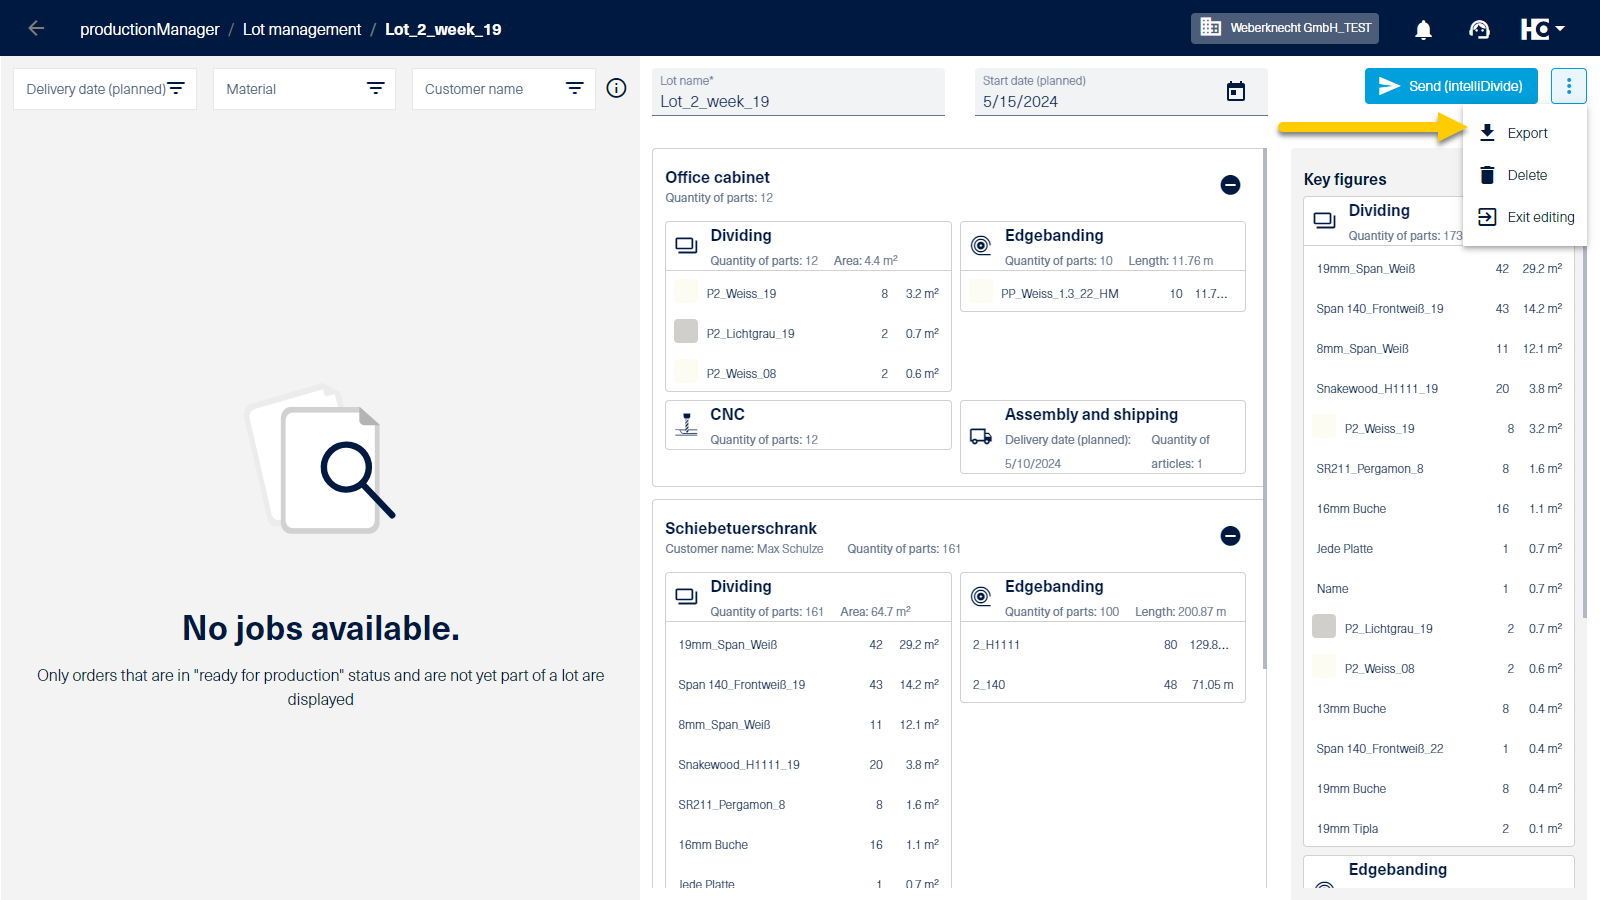
As soon as a lot contains orders, this lot can be transferred to the cutting optimization by clicking on the Send (intelliDivide) button (1).
Alternatively, and if no intelliDivide license is available, the cutting list can be exported (2).
Delete (3) and Exit editing (4) are further options.
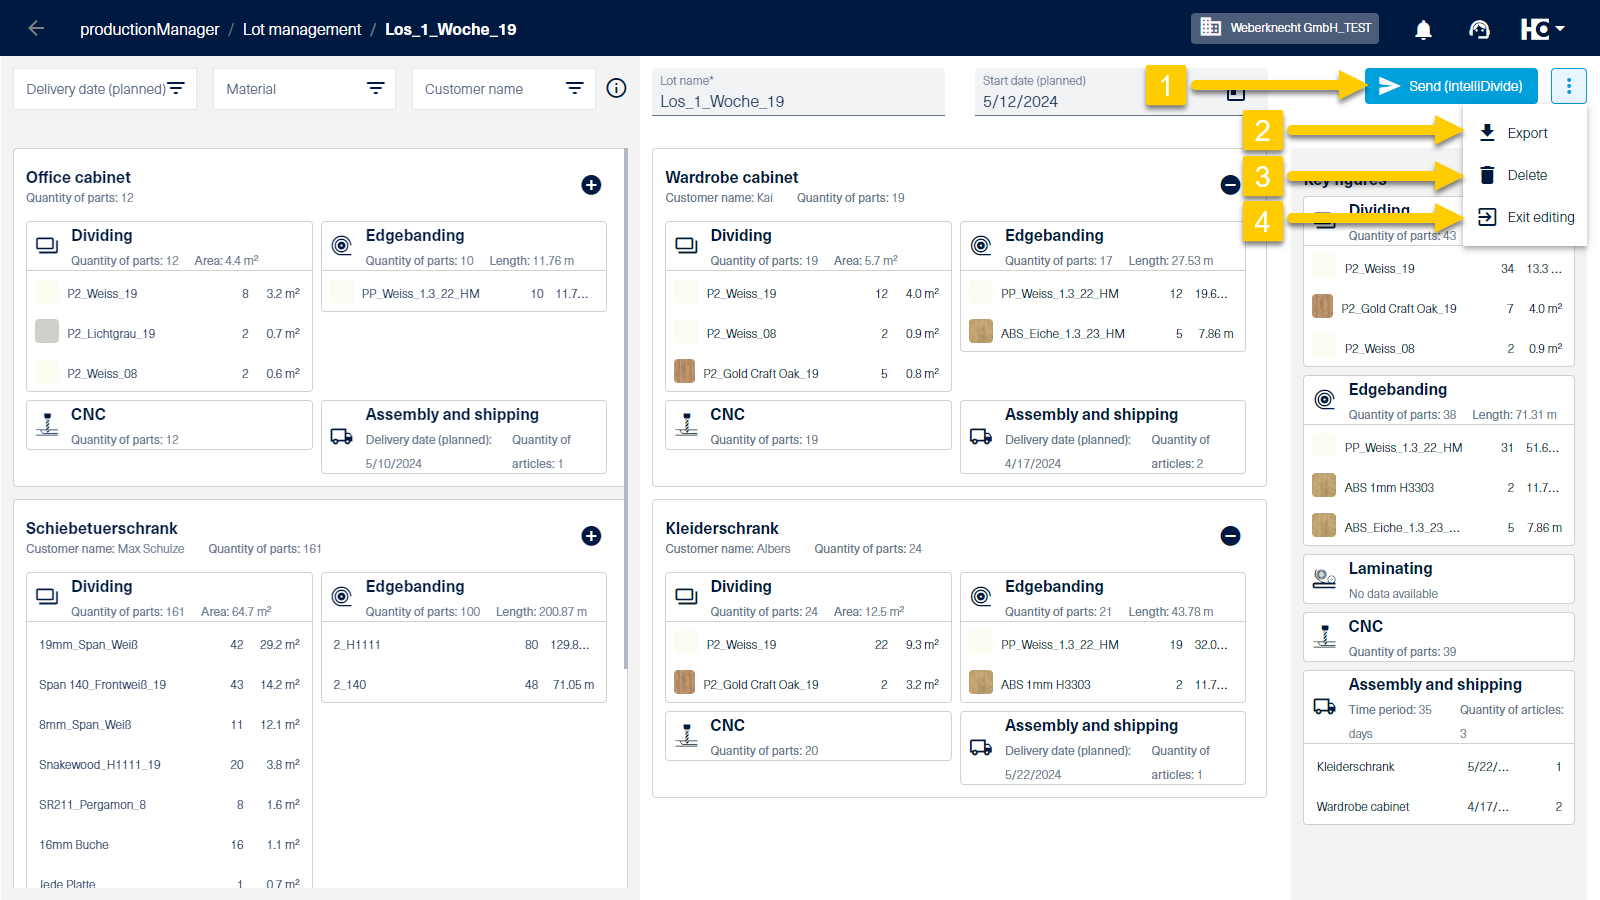
Options available after lot generation
Send to intelliDivide
After generating a lot, the parts can be transferred to intelliDivide Cutting or intelliDivide Nesting by clicking on the Send (intelliDivide) button.
An intelliDivide license must be available for the Send (intelliDivide) button and thus the option to be available.
When transferring to intelliDivide, you can select a machine and the parameters. In addition, the optimization can be started automatically.
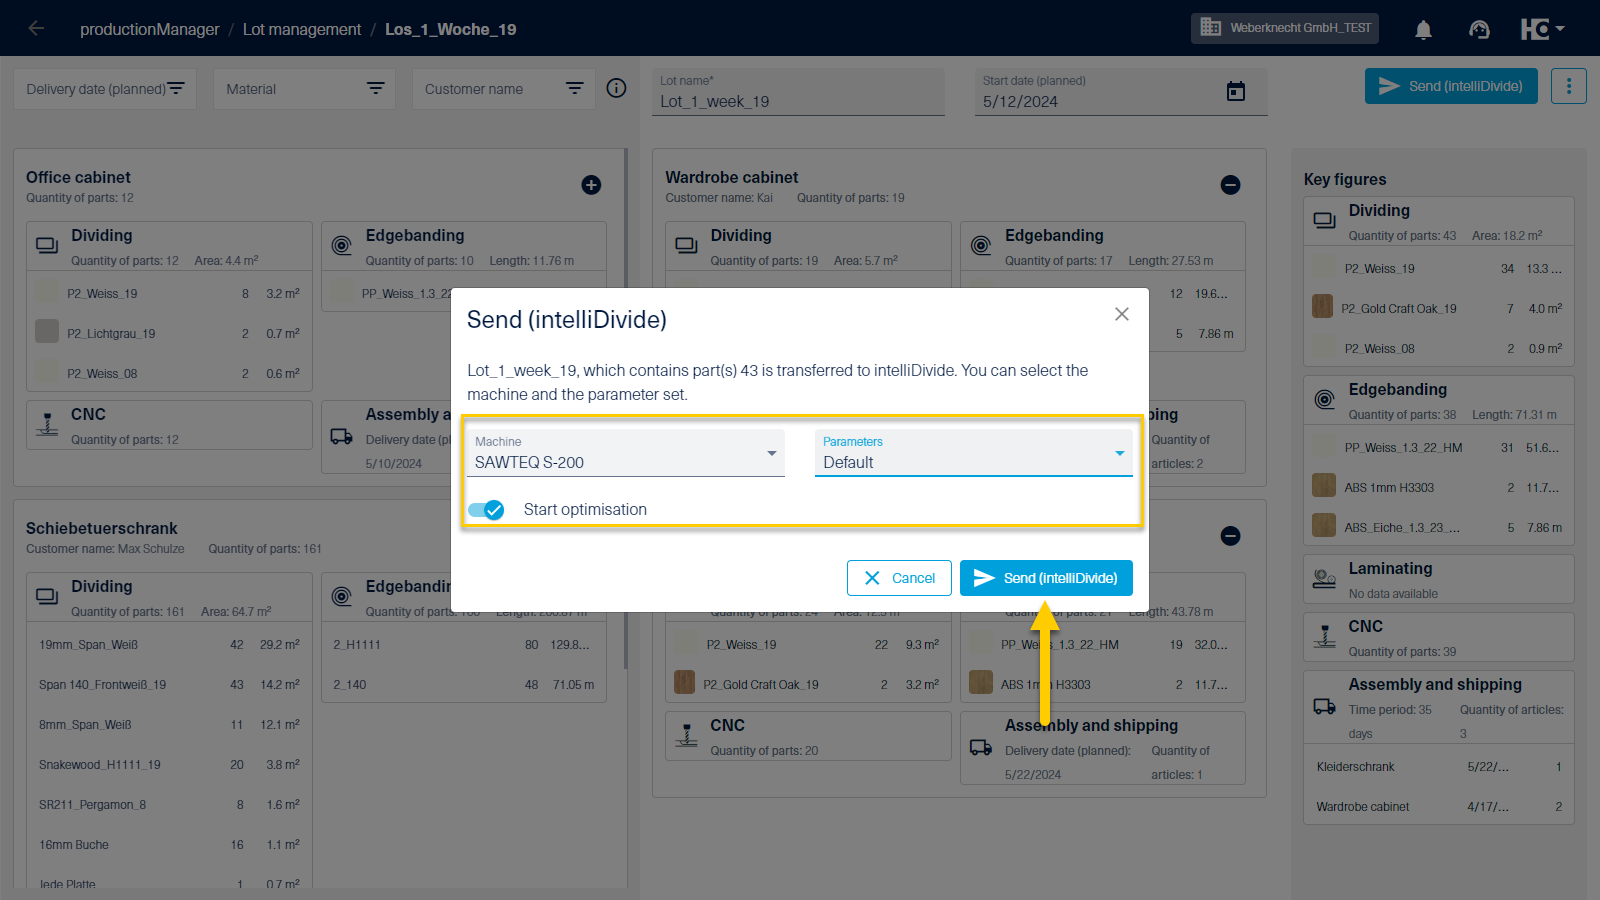
Sending the parts to intelliDivide
Export for cutting optimization
If you are using Cut Rite or other software for cutting optimization, you can create a CSV file by exporting it, which you can then import into your cutting optimization. To do this, select the Export option.